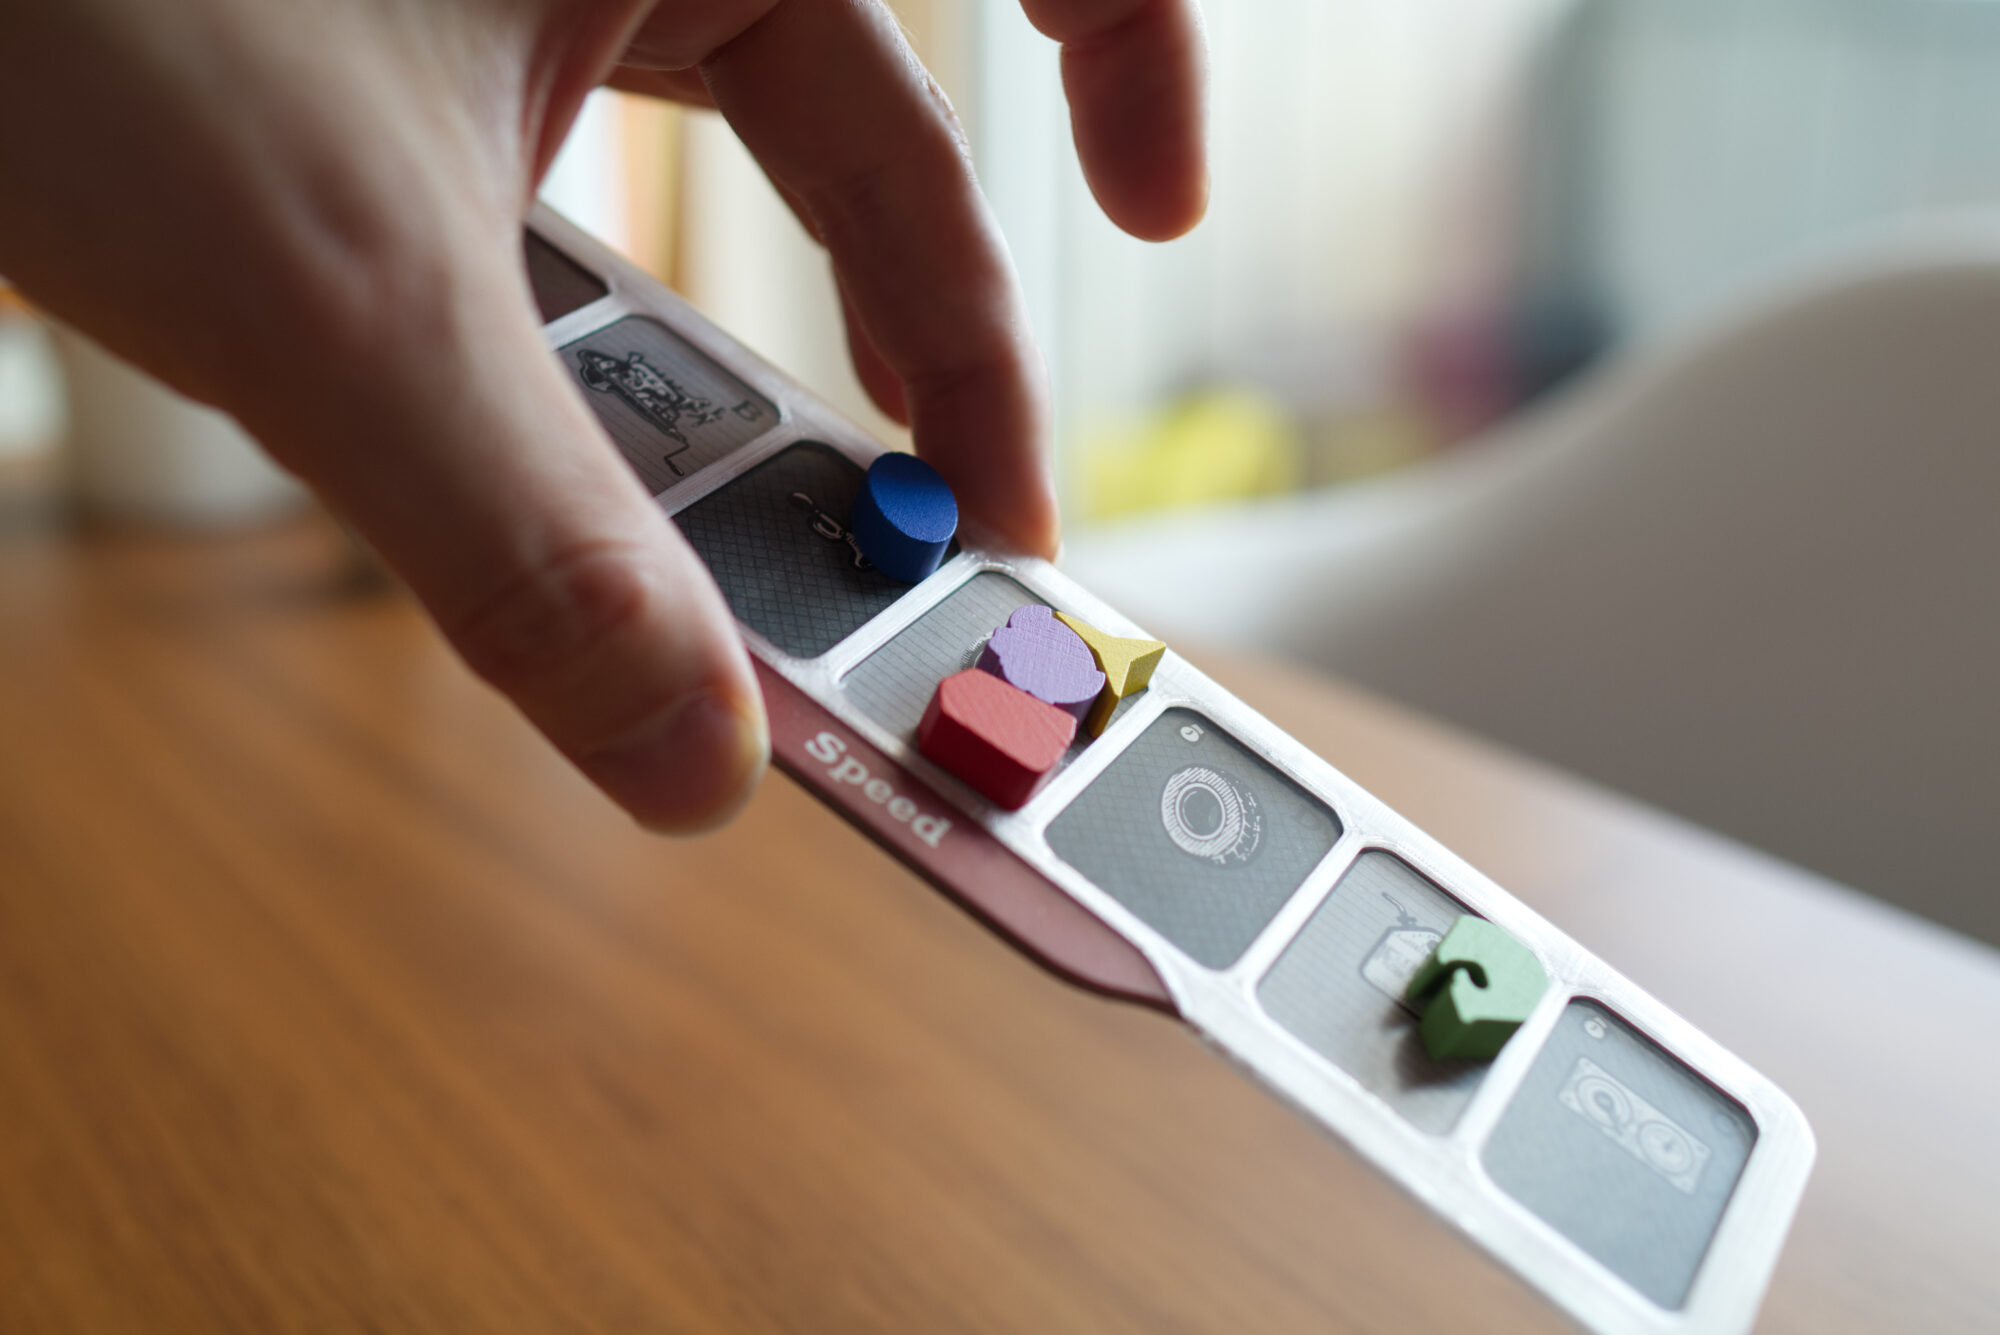
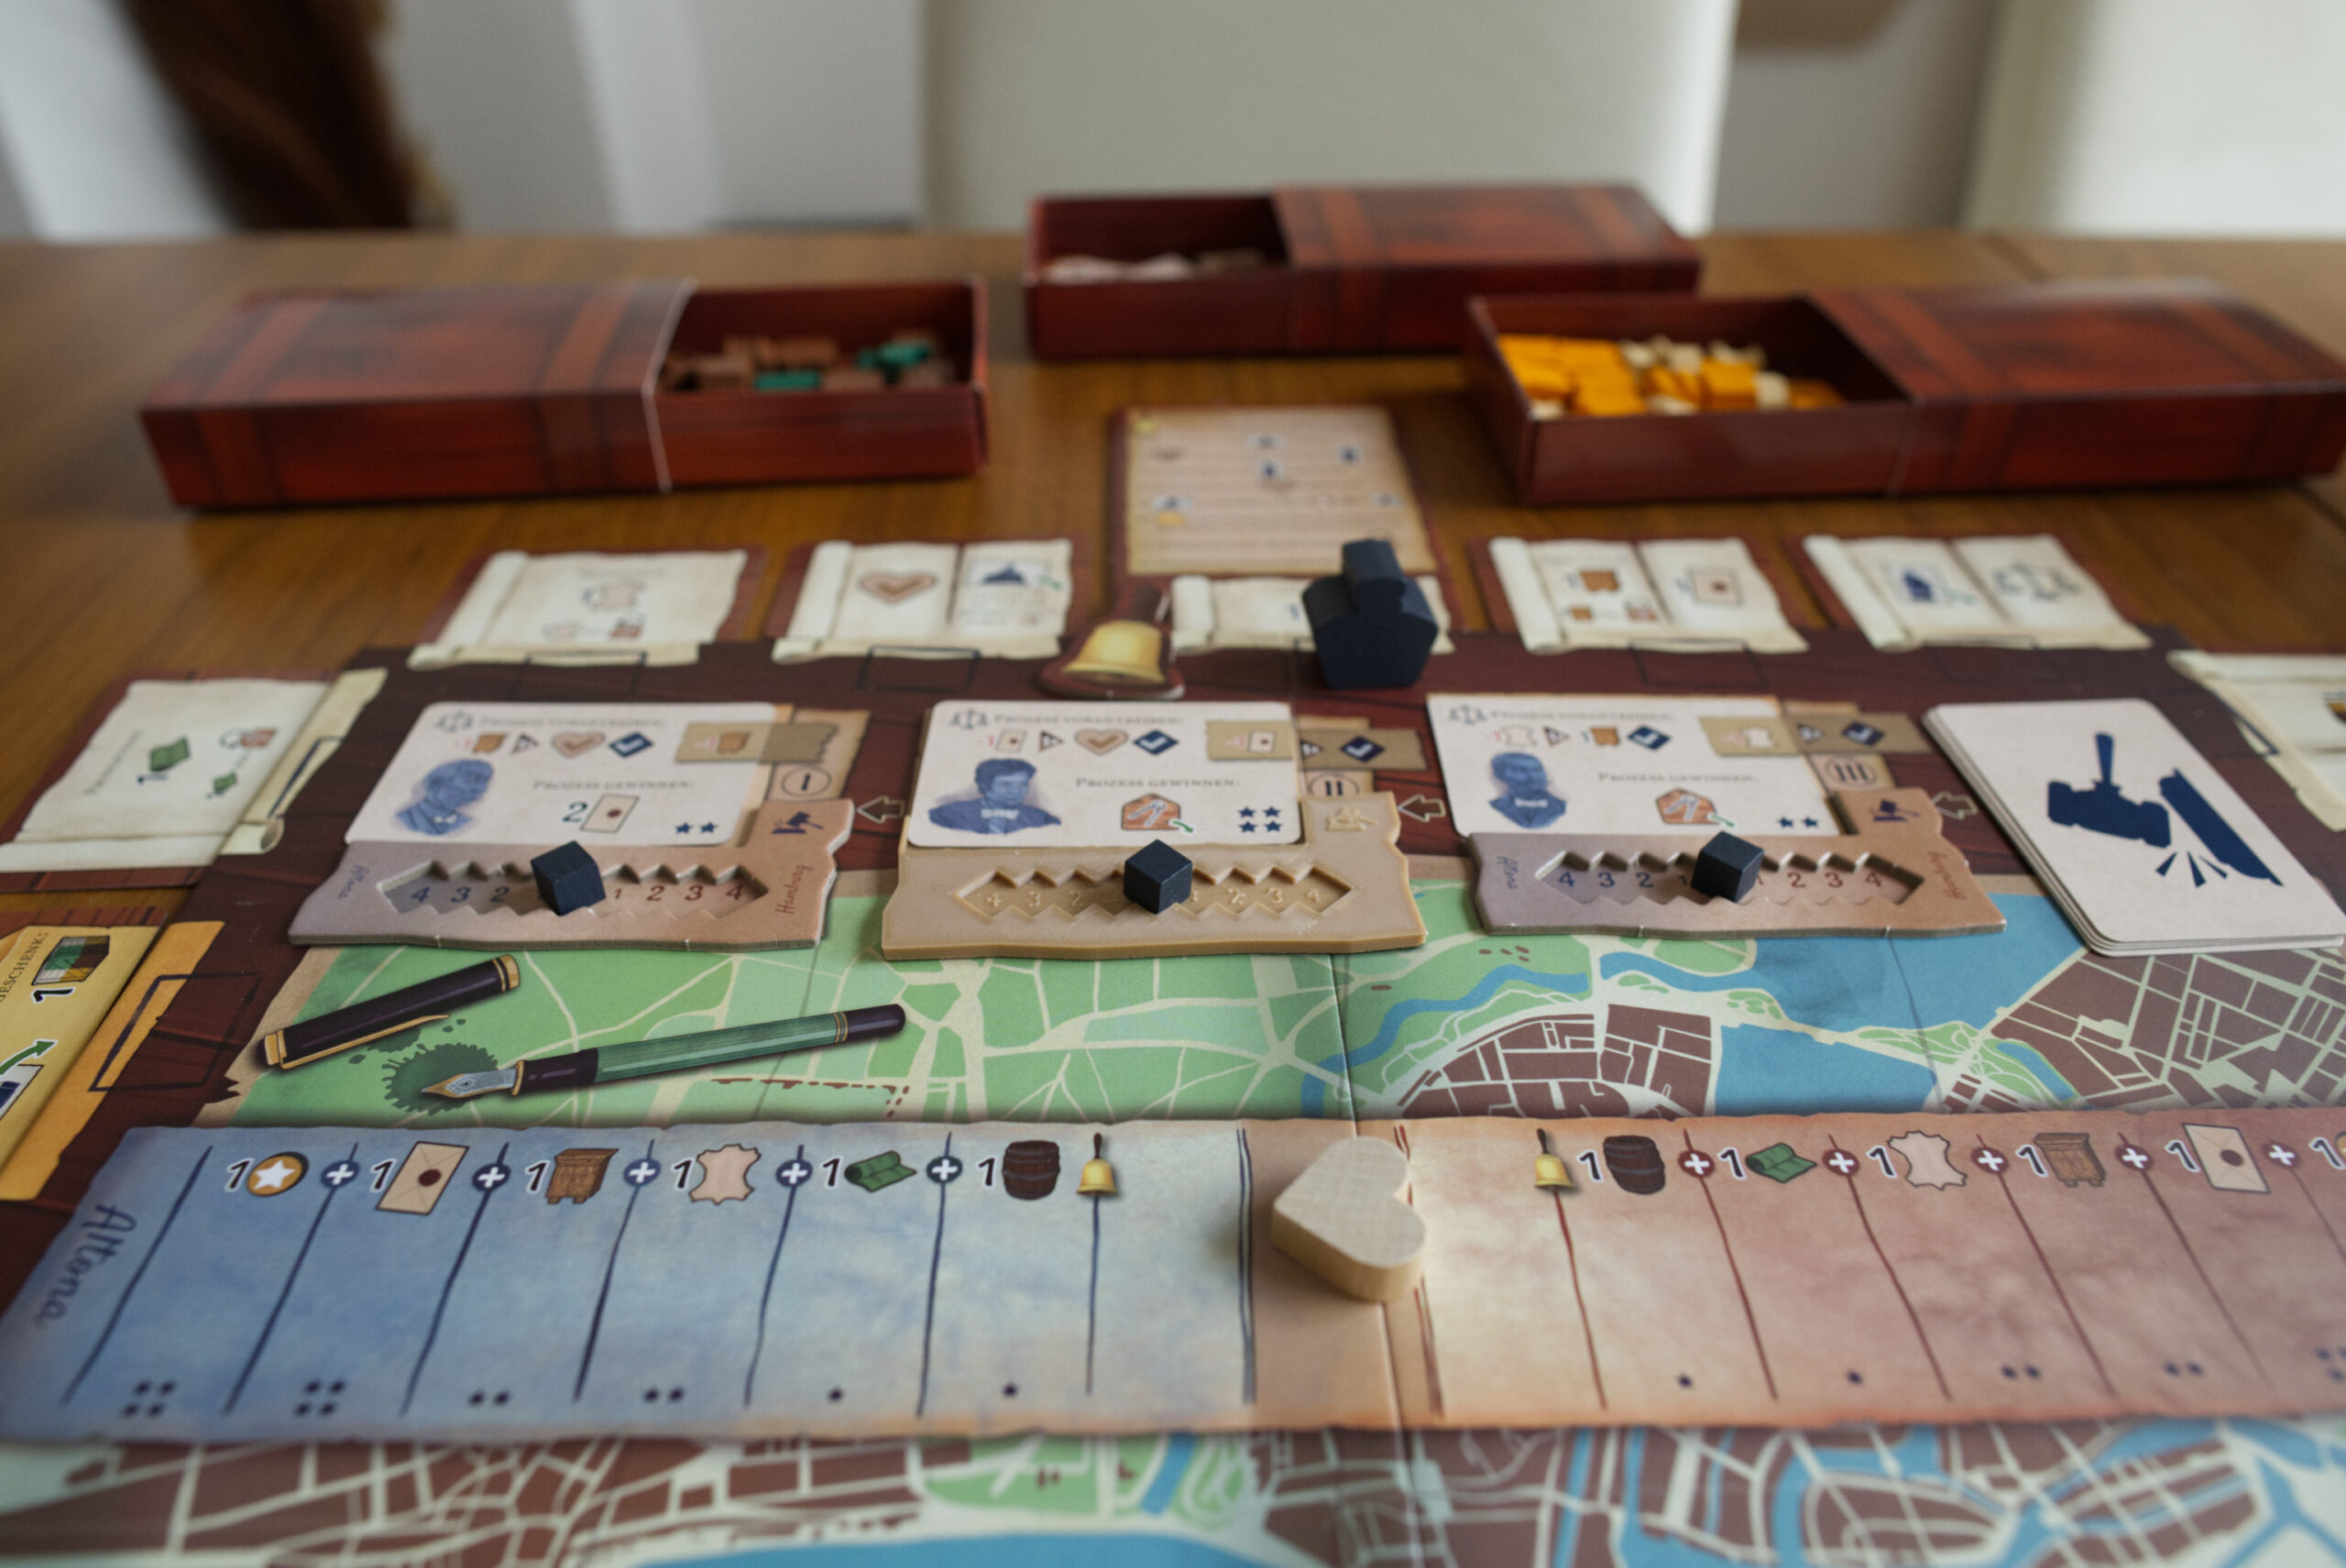
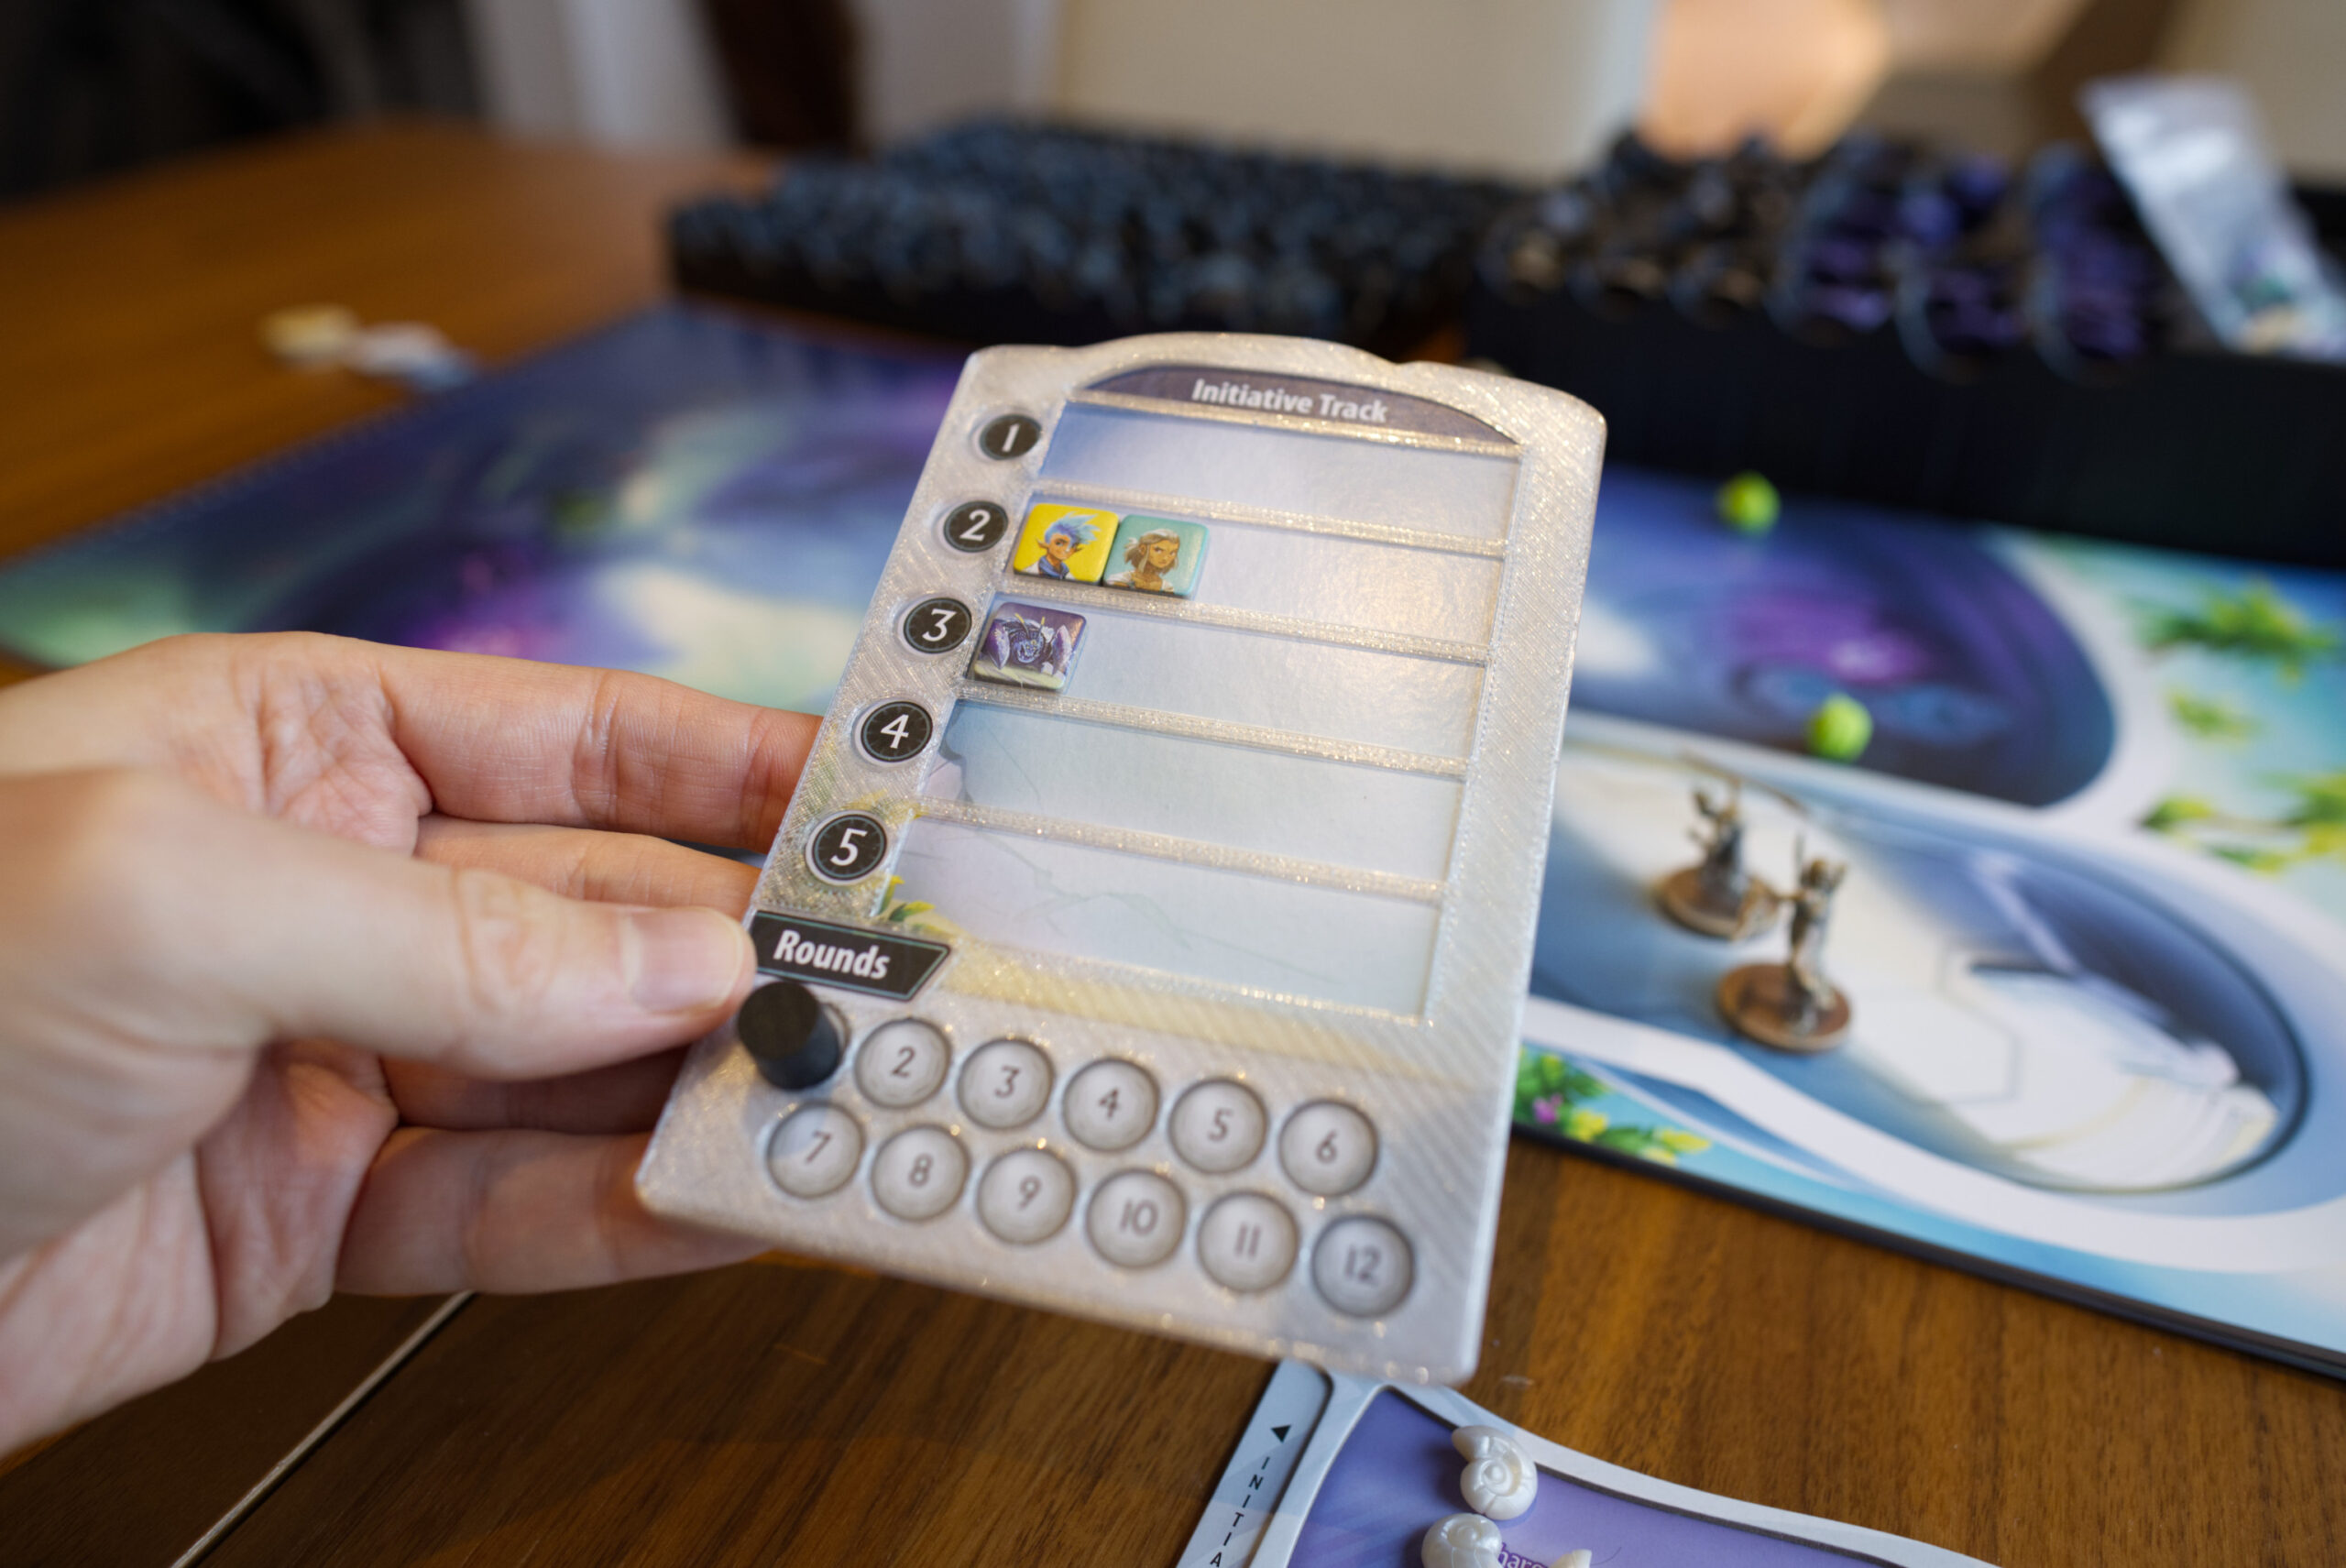
I started designing custom parts for various board games, such as overlays, minis, etc. This section contains write-ups about the various projects and the STL files for download if you want to print them yourself.
-
3D Printed Card Trays for Rival Cities
-
3D Printed Overlay for Tidal Blades 2
-

3D Printed Insert for Antiquity
-

3D Printed Miniatures for Foundations of Rome – Gardens of Ceres
-

3D Printed Overlays for Horseless Carriage
Tips Printing For Board Games
- First of all, be careful not to damage your games! Check for print artifacts like blobs of filament in your final prints by going over them with your finger or something else suitable. These small bumps can scratch your cardboard pieces quite easily and need to be removed with a file. Diamond files as one can get for miniature makers are great for this.
- Check for tolerances: depending on the nozzle you use and your printer settings, something that is modelled with correct tolerance can easily end up coming out of the printer with too small a gap to fit your pieces. So on first try, insert stuff very carefully and make sure they have a little bit of wriggle room.
- Resolution: For printing miniatures, you’ll definitely need either a SLA resin printer or an FDM printer with a smaller-than-standard nozzle. I use a 0.25mm nozzle because that’s the smallest diameter that’s still supported by my printer manufacturer. I own a 0.1mm nozzle but basically you have to tweak your own settings and this kind of small nozzles are supposed to get clocked very easily.
- Dry your filament: I was surprised what a difference it can make. For most filaments, I was fine without it but even a high-quality Prusament-branded PLA can create weird holes and blobs when left exposed to the air for too long.
Gear I Use
I’m using a second-hand Prusa Mini+ with some upgrades both the previous owner and myself have made:
- I replaced the print with an E3D Revo system that allows for quick changing nozzles more easily since I often change between the stand 0.4 (inserts) and a finer 0.25 nozzle (minis). While the switching works great, using a Revo has some downsides. You’ll need to tweak pretty much all your settings because the Bowden tube will be slightly longer/shorter, etc. In my case, I have some under-extrusion near the boundaries that I haven’t gotten rid of yet. Note: If you switch to a Revo, you must buy a new PTE Bowden rube. The instructions don’t say that but if you cut short the existing tube that came with your printer, it will be too short and loading filament will jam it into the hot end!
- The previous owner had added a Bondtech extruder. I can’t speak to what it does to the quality because I’ve always had it on, but I read up it is supposed to help with some occasional print quality issues.
- The previous owner had also printed an L-bracket that connects the bed with the Z axis for added stability.

For filament, I mainly use Prusament and Anycubic filament, mostly because the latter is easy to get on Amazon. What seems to be more important than the filament itself is to keep it dry. I actually had Prusament Gray filament (which is at the top end price-wise) producing weird holes on the print and it turned out it was just because it had absorbed so much moisture over the months! I got the Creality Space drier and it seems to be doing an okay job.
I was considering using SLA resin printers and actually got one at one point. But after reading up on the sever health risks when using them, I didn’t won’t to have them in my apartment and don’t have a cellar or other well ventilated space to use them. However, I found with the 0.25mm nozzle, I can get plenty of detail out of my FDM prints.
