So I recently got my hands on a 3D printer, something I wanted to do for ages. I was hesitant to do so for two reasons:
- I’m not interested in printing large parts like trays for sorting, which seems to be what most people are doing in the board game space. Printing things with small details like miniatures however is tricky with the typical FDM printer and usually requires an SLA resin printer. Resin is rather toxic and requires a lot of safety precautions, isolated rooms with good filtration, etc, so that was out of the question
- Pretty much everyone I know that owns a 3D printer got it, was excited while printing a couple of test prints and fiddling with the machine to get it running, and then ended up having it gather dust.
However, I came across an upgraded Prusa Mini+ for a very reasonable price, so I thought I give it a shot. Long story short, I actually got into printing minis with it quite successfully, but that’s a story for another time.
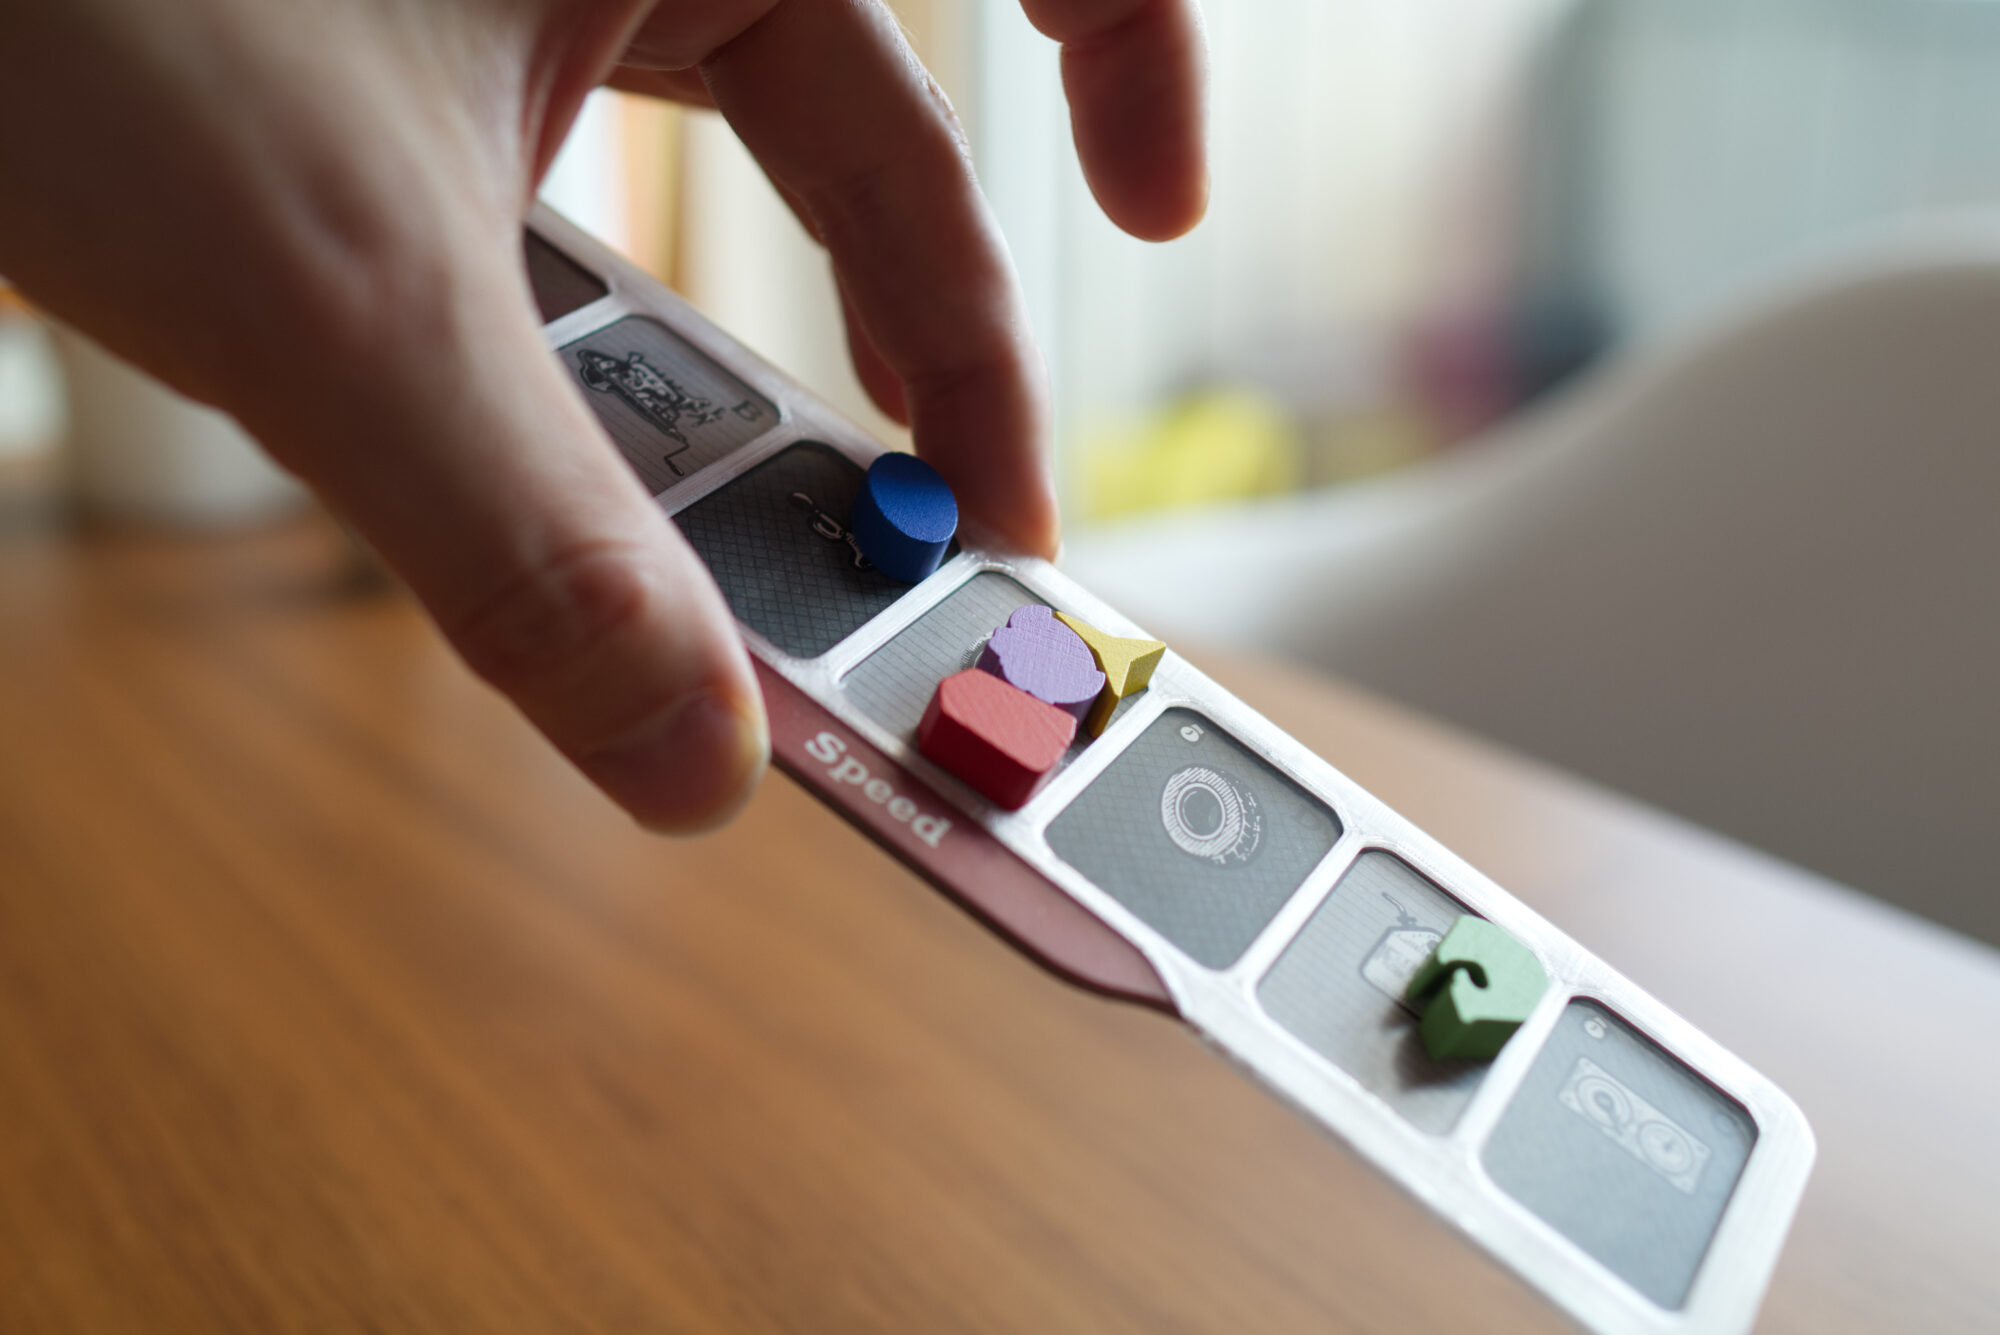
One perfect use case for my new printer seemed to be to solve the only real issue I had with Horseless Carriage, namely that the R&D markers kept slipping off the tracks when moving them around. So the idea was to design some form of cover that can be put on top of it or the things snapped in to resolve that issue.

Designing It
I chose to use Blender 3D, mainly because I knew it already and my experience with FreeCAD is limited (and I’ve never spent the time to learn Fusion 360). So the process was mainly taking a reference photo of one of the tracks, putting it into the background of a new scene and then modelling the shape of the cardboard using subdivision surfaces. Again, there are different ways to do it, that’s just what I feel most comfortable with.

From there on out, it was mainly creating a scaled up version as a basic shape for the overlay and then using Boolean operators to cut out the cardboard from my main shape, add holes for the actual spaces of the track, a cut out for the name plate. To account for production tolerances in the cardboard piece as well as shrinking of the 3D printed part, I needed to make the cutouts slightly larger than what I measured the cardboard piece to be. By the way: calipers are immensely helpful when doing this kind of stuff to measure things precisely. Strong recommendation to get some if you want to try something similar yourself.
The first version – after much tweaking – I was happy with looked like this:

It’s a snuck fit but the cardboard still has some wiggle room because I was afraid it might damage the cardboard piece. I also noticed that I didn’t need to design a bottom cover because both the cardboard and the overlay angle into each other when one tries to lift it off the table. However, as an eagle-eyed reader in the BGG forum pointed out, there is no space to put the minimum spec indicator markers! I had simply forgotten they exist and hadn’t pulled them out of the box when I fiddled around with the pieces.
The most straight forward solution to this is also the final version I liked best:

After this worked successfully, I lowered the size above the cardboard piece from 1mm to 0.5mm which seemed to be enough to prevent the pieces from slipping. Reducing the height also makes it look nicer when using transparent filament which always ends up more likely iced glass than truly being transparent. Here is one with non-transparent filament, also works well if the colour roughly matches that of the track. As you can see, it’s rather thin, but seems to be a good compromise between sleekness, stiffness, and functionality.

I tried multiple different variants to move the minimum spec markers to the bottom, top, further to one side, angle them, etc in an attempt to get the separators between spaces to look as slick as in the original version. But in the end, the version with the slots for the spec markers looks and works best I think. Plus it can be printed without any support material, which is also nice.

Printing Tips
So what if you want to print some for yourself? One piece takes approx 35 min with a standard 0.4 nozzle and 0.10mm layer height. The piece fits barely on to the print plate of a Prusa Mini (which has a print volume of 18x18x18cm), but it fits if you rotate it 45 degrees along the Z-axis. It needs to be flipped so the top is actually printed directly on the print bed, both to have a smooth surface and avoid the need for support material that would have to be removed later on.
Regarding settings, I mainly use the default Prusa presets for generic PLA except for turning on Ironing (to smoothen out the top surface) and lowering the print speed for the first layer for better adhesion. I like printing it with a 0.25 nozzle and thin layer heights (0.05-0.10mm) for ultra smoothness, but it’s not really that necessary for this piece.

STL Files & License
Here are the files for download. Please note the license file in the ZIP. You’re free to print for personal use, leave a comment if you do so. However, you’re prohibited from uploading them on other sides like thingiverse, printable, etc or put the stuff in your Etsy shop! This was a fun pet project for me and I’m happy to share the results with the community. But it would be disappointing if someone takes it and tries to profit from them in whatever form. So don’t spoil the fun for me!
- Horseless Carriage Overlays.zip – 0.4 MB (v2, last updated May 25, 2024)
Disclaimer: Use at own risk! In particular, check for print artifacts such as blobs or sharp edges that might damage your game components. For more information, check license file. All copyright regarding Horseless Carriage itself of course belongs to Splotter Spellen.