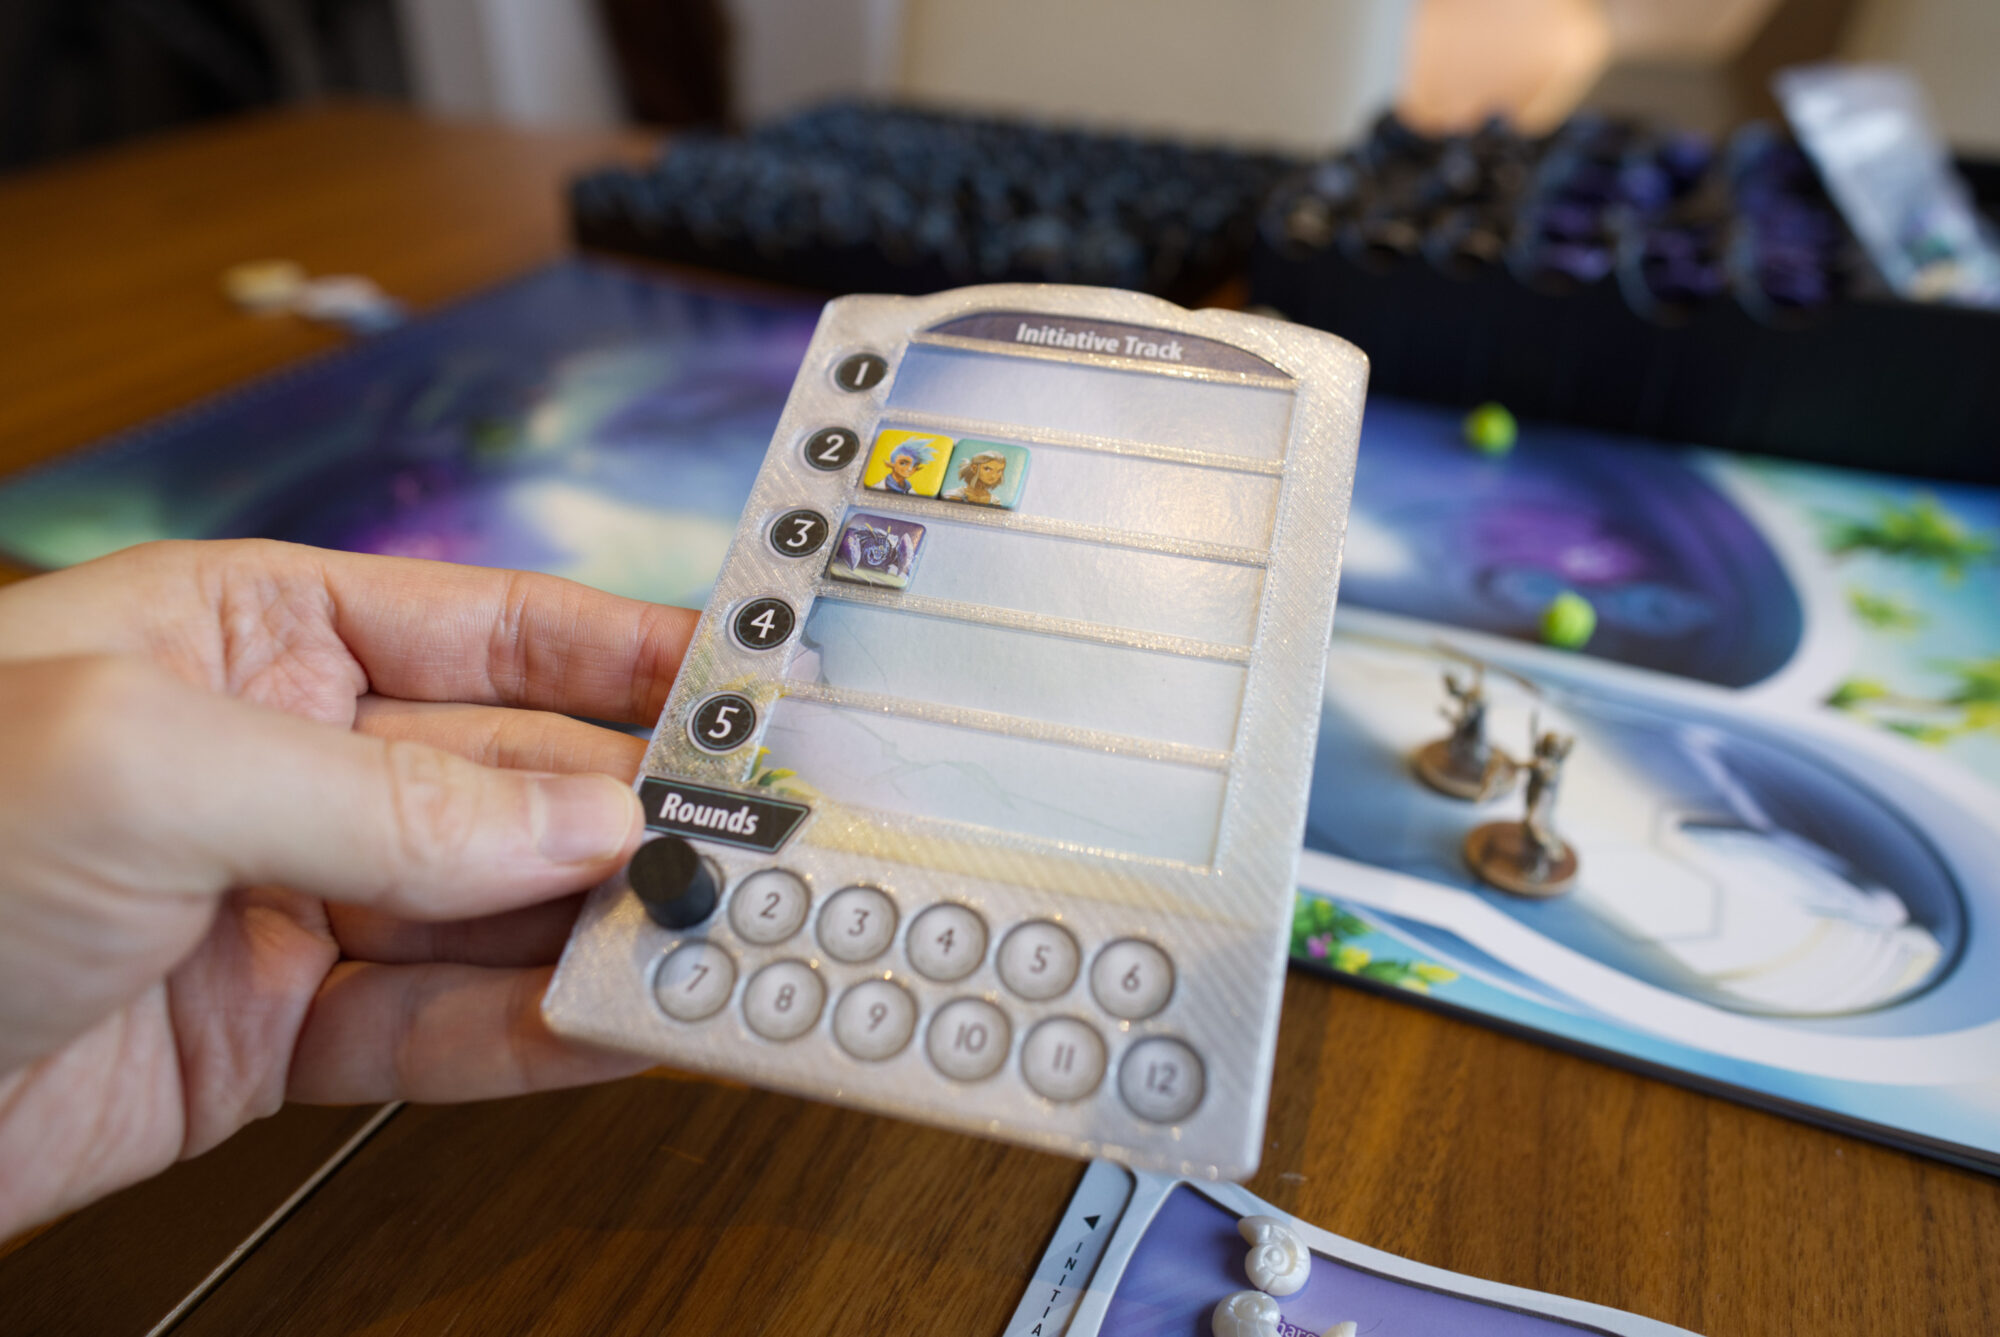
While the minis and maps look amazing, it felt a bit odd to me that the initiative/round tracker which one constantly interacts with isn’t dual-layer. So using the techniques I learned while creating my overlays for Horseless Carriage, I quickly created a similar overlay for the initiative/round tracker.
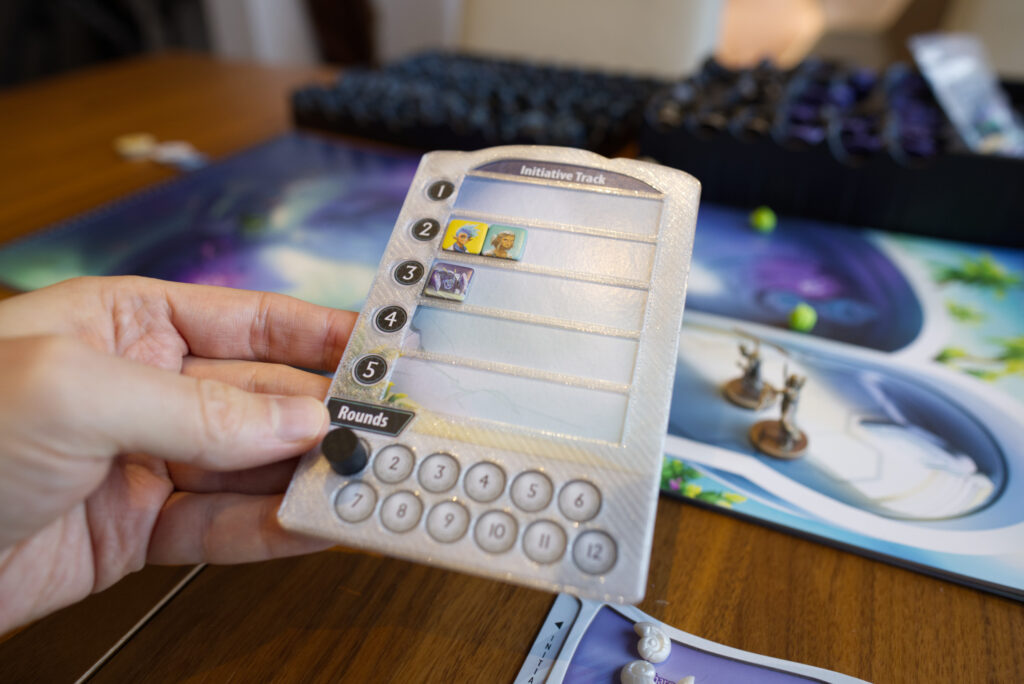
Designing It
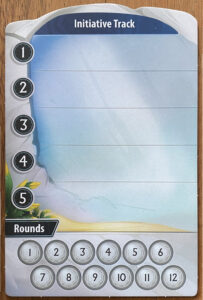
This was rather straight forward. I liked the semi-transparent look of the Horseless Carriage overlay so I again assumed I would need something that can be simply slotted over the original cardboard piece. Using my iPhone, I created a quick image to act as a reference while modelling. The only important thing here is to a) lay the piece on a flat surface to avoid distortion and b) use the iPhone’s level indicator to create a shot that points straight down. This avoids inaccuracies later on.
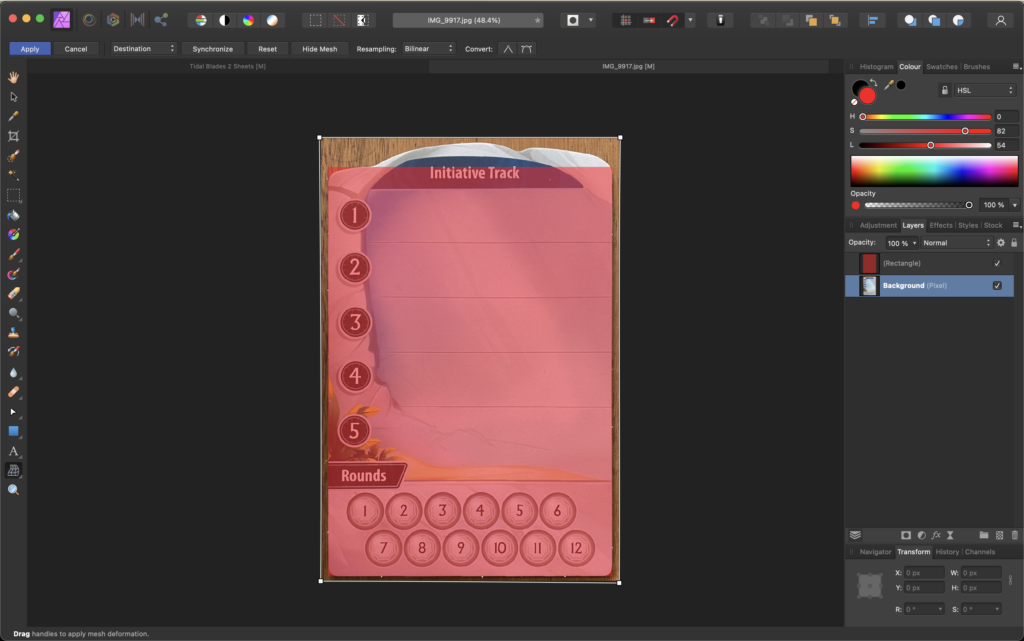
To optimise things even further, I quickly loaded up the image in Affinity Photo, drew a box shape with the rough dimensions on top of it and used the warp tool to make sure there is neither rotation nor any bending. It’s important to have straight lines where there are straight lines in reality before starting modelling. Again, a little bit of care can save a lot of time later on.
I then imported the corrected image into my standard Blender 3D scene I use for 3D printing projects (e.g. scene units set to millimetre, grid adjusted, etc) and started sketching out the shape. For this, I used a standard cube, roughly aligned it, marked edges of the top and bottom faces as creases before applying a subdivision surface modifier. This way the top and bottom stay flat while the sides get rounded. I inserted further edges into the silhouette and move and tweaked things until I had the shape matched pretty well. Adding a simple material and applying the reference image as texture, done.
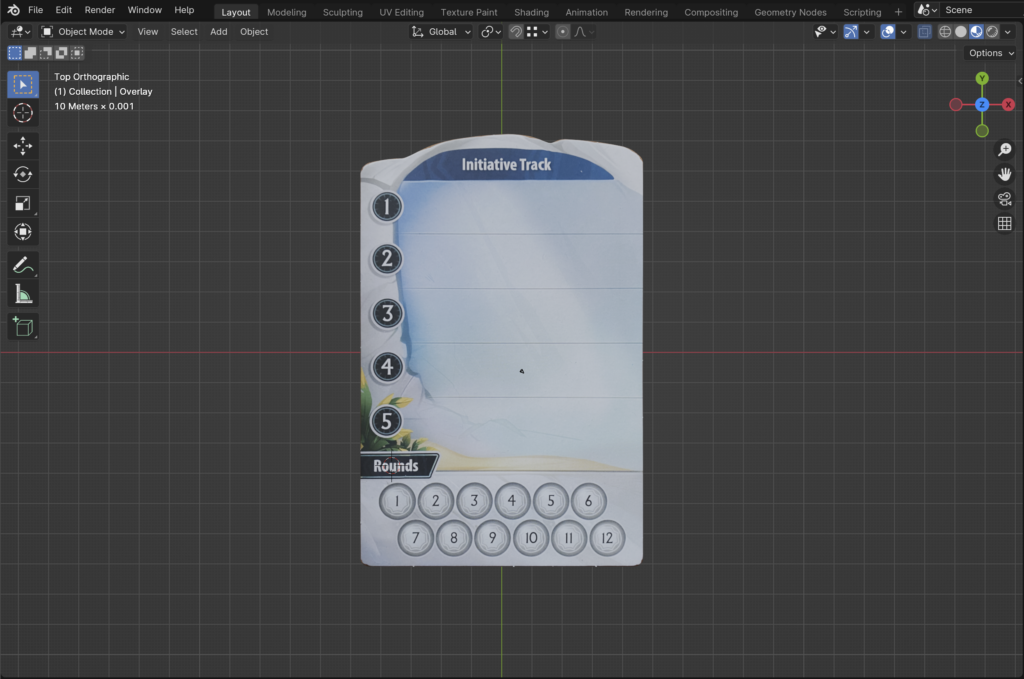
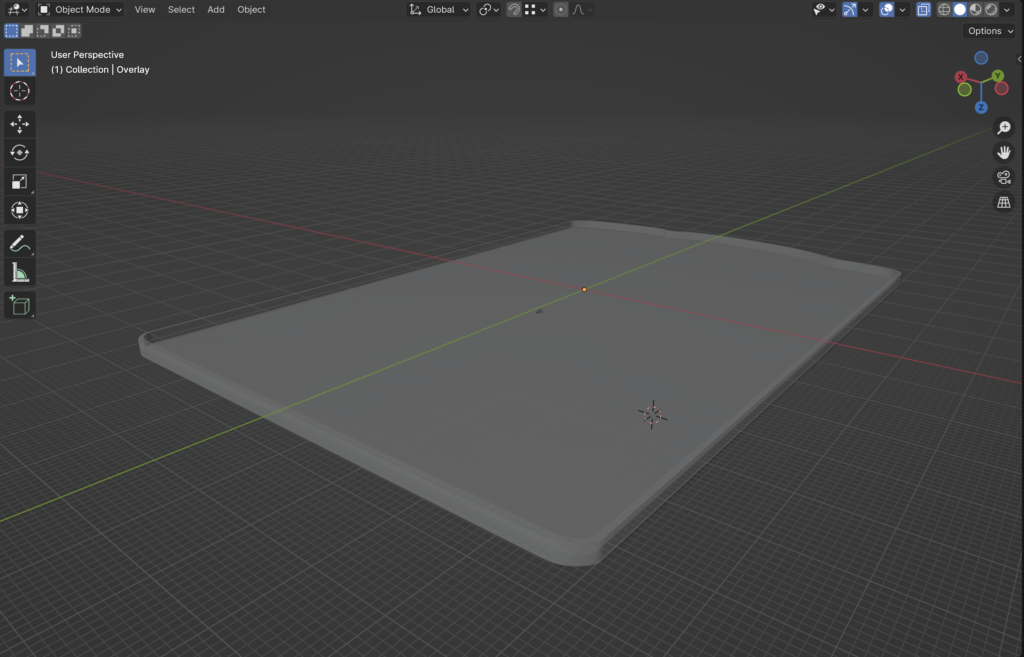
I then duplicated this object to act as a cut out. I made sure scaling is applied (so the scaling factor is 1.0; otherwise modifiers will behave weirdly) and added a deform modifier to offset the shape by 0.25mm to account for tolerances during the printing process and give the cardboard a bit of wiggle room underneath the overlay. Making things too tight always runs the danger of damaging the cardboard component.
I then duplicated the original shape once more, and manually move out the edges in X and Y by a millimetre or so to create the base shape of the overlay. I also move the top face up by about 1-2mm as that’s all that is needed to have nice guiding edges in the overlay. Anything more than that and the transparency will be lost as transparent PLA filament will always end up milky. Add a boolean modifier to subtract the cut out shape and we have a base shape that fits over the cardboard piece.
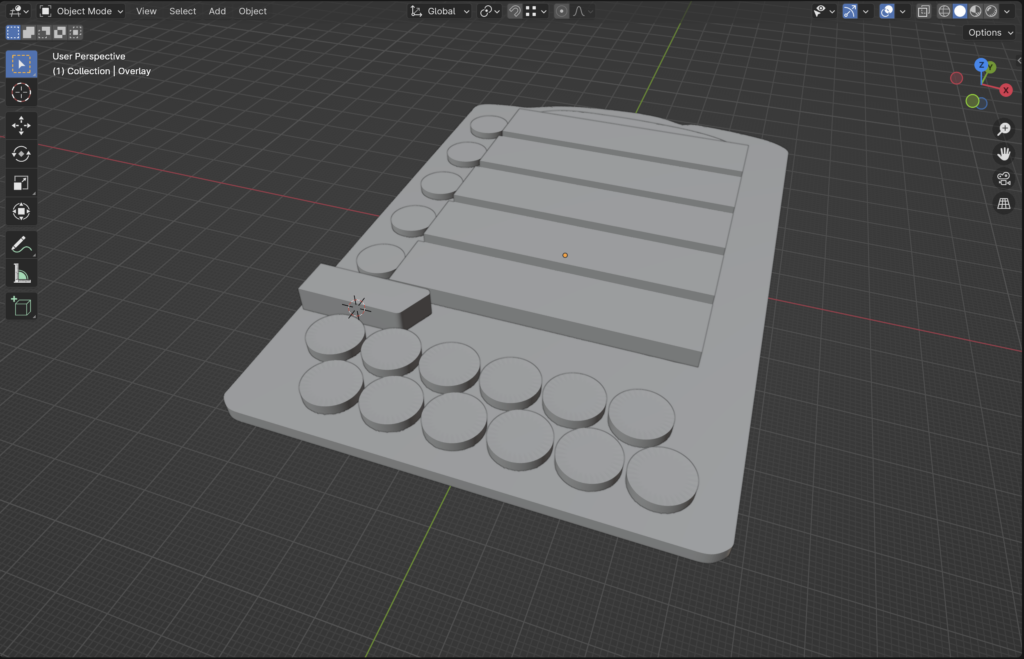
Using either basic shapes like cylinders or the same technique that I had used for the base shape, I created further cut outs for various elements that should not be covered by the overlay and again subtracted them from the overlay shape. The only trick here is to make sure the cut outs have their top and bottom faces way above / below the thickness of the overlay itself because boolean modifiers will have issues if both objects have a face lie in exactly the same plane.
Hiding the cut outs leaves us with the final shape:
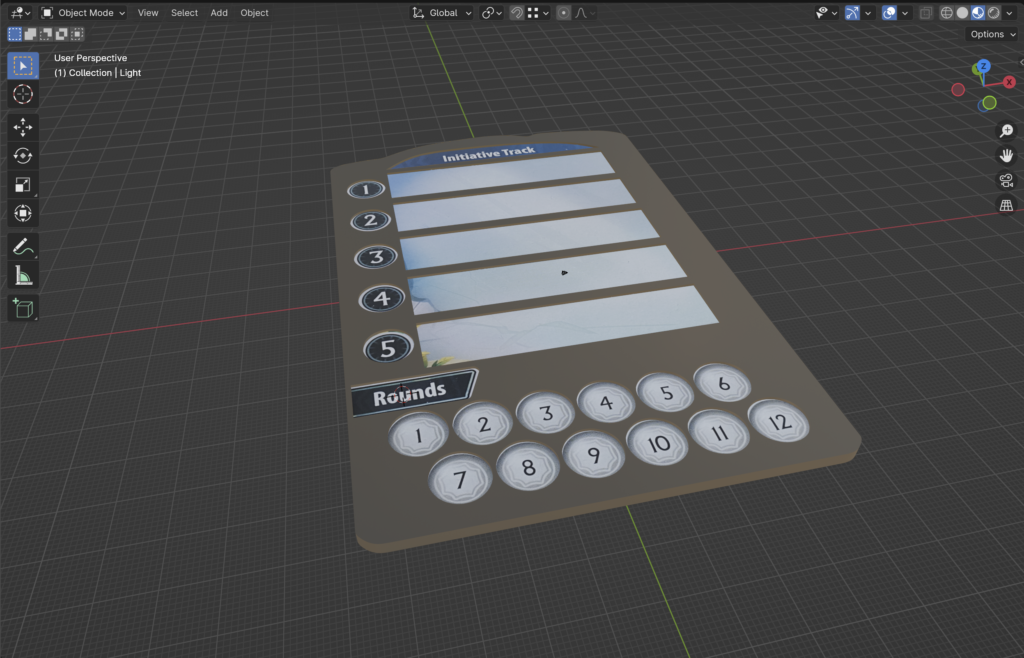
After that it’s time for a first test print and with the physical cardboard piece inserted check for fine adjustments. In this case, I had to adjust the positioning of the elements by a fraction of a millimetre here and there. I also ended up reducing the diameter of the cut outs for the round numbers as the bridge between two numbers was originally so thin it created printing artifacts.
Printing Tips
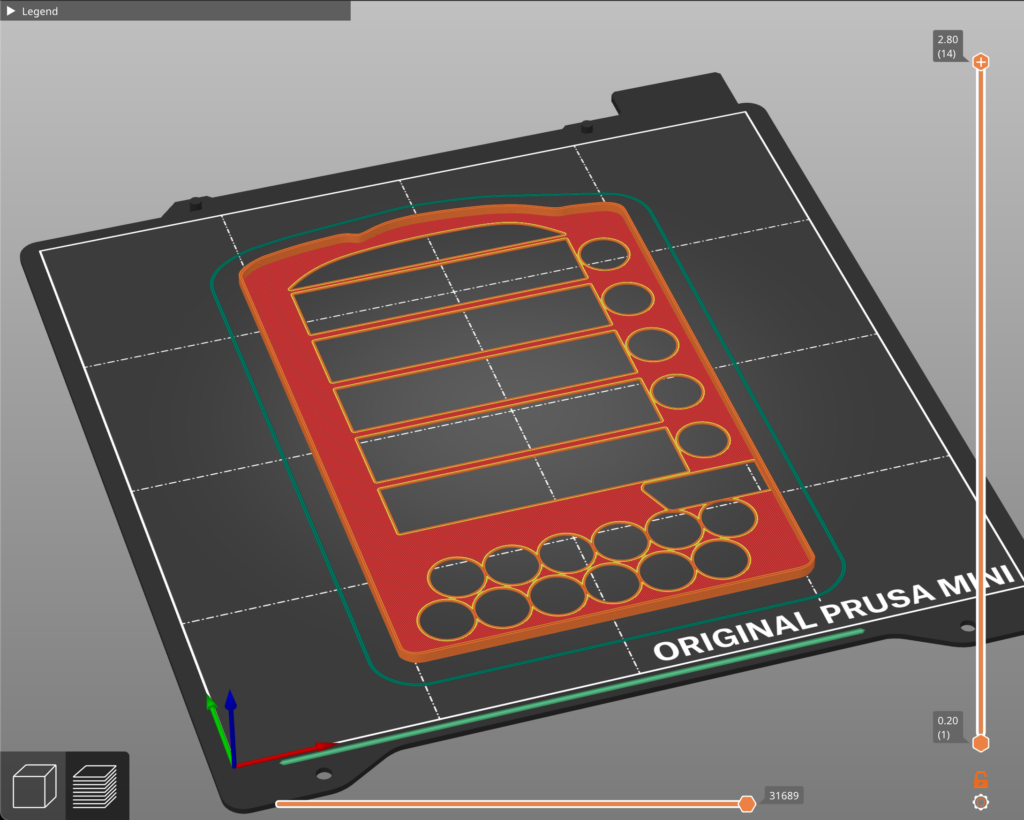
Nothing special here. I printed it with a standard 0.4mm nozzle with clear transparent PLA and 0.2mm layer height on my modded Prusa Mini+. You can try to tweak layer height to get a bit less milkiness, but it’s usually next to impossible to get fully clear prints. In this case though my main issue is that I should have first stuck the PLA in the filament dryer as I haven’t used it in a while. That created a number of tiny blobs that I filled of with a diamond file.
Otherwise make sure to rotate it 180 degrees around the Y axis so it prints without support.
STL Files & License
Here are the files for download. Please note the license file in the ZIP. You’re free to print for personal use, leave a comment if you do so. However, you’re prohibited from uploading them on other sides like thingiverse, printable, etc or put the stuff in your Etsy shop! This was a fun pet project for me and I’m happy to share the results with the community. But it would be disappointing if someone takes it and tries to profit from them in whatever form. So don’t spoil the fun for me!
- Tidal Blades 2 Initiative Overlay.zip – 0.3 MB (v1, last updated Dec 22, 2024)
Disclaimer: Use at own risk! In particular, check for print artifacts such as blobs or sharp edges that might damage your game components. For more information, check license file. All copyright regarding Tidal Blades 2 itself of course belongs to Druid City Games.
