The Kickstarter project Rise & Fall is currently in fulfilment and it comes with a ton of components. There is also additional packing material in the box to protect all the wooden pieces during shipping, which can make it confusing to get everything back in the box. This small guide hopefully will help you find your way.

Disclaimer: Use common sense. I’m not liable for any damage you may do to your game by following and/or misreading these instructions 😀
Cardboard Trays
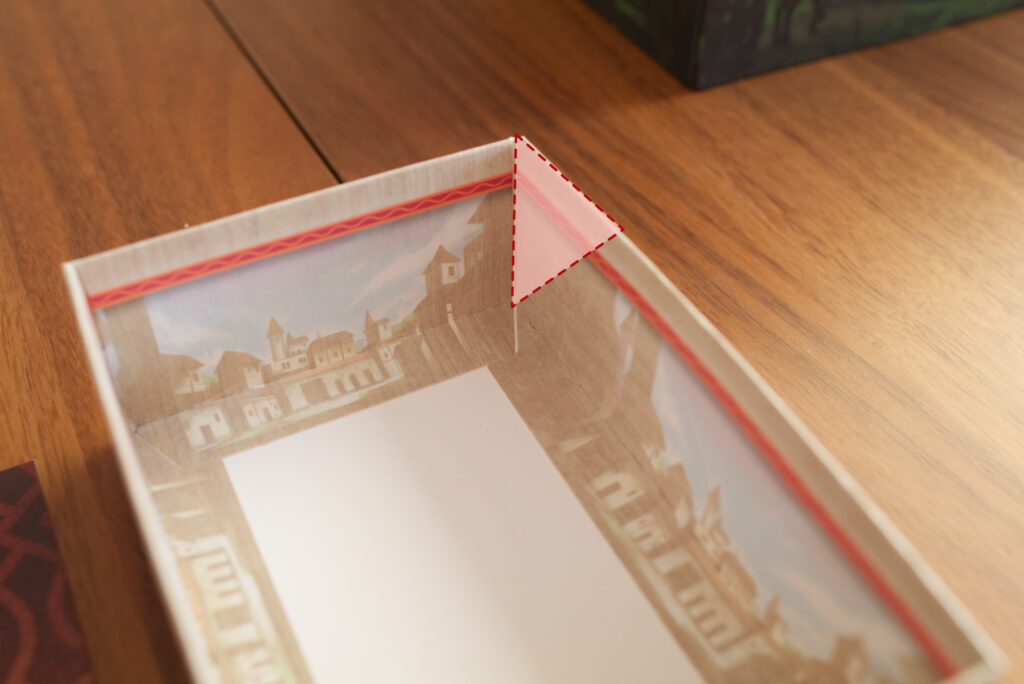
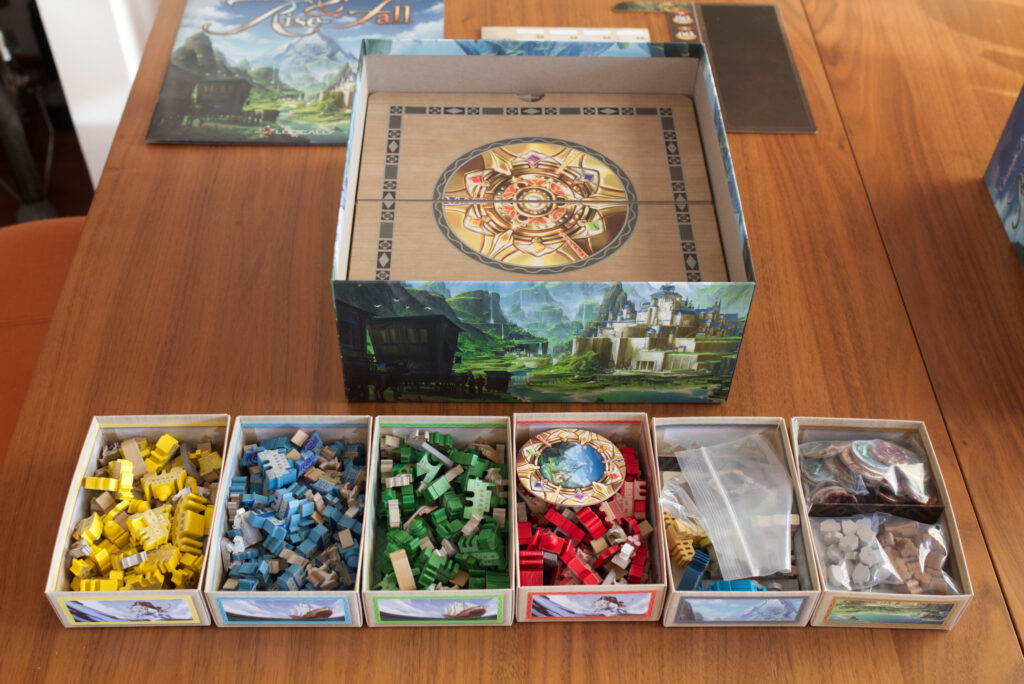
The game comes with 6 cardboard trays, one for each player colour and two for shared components. This does not require any glue but can be folded to stay in form. If you flip it on to its backside, you will notice that there are four squares that have a diagonal dent going through them. Fold those together and the sides will automatically close in on each other. Then press the triangle to either side and flip the side over it. Press the side carefully down so that the bottom part automatically folds inward when hitting the bottom of the tray. Do this for all four sides, go over each crease lightly to make it a sharp fold, and they will stay together.
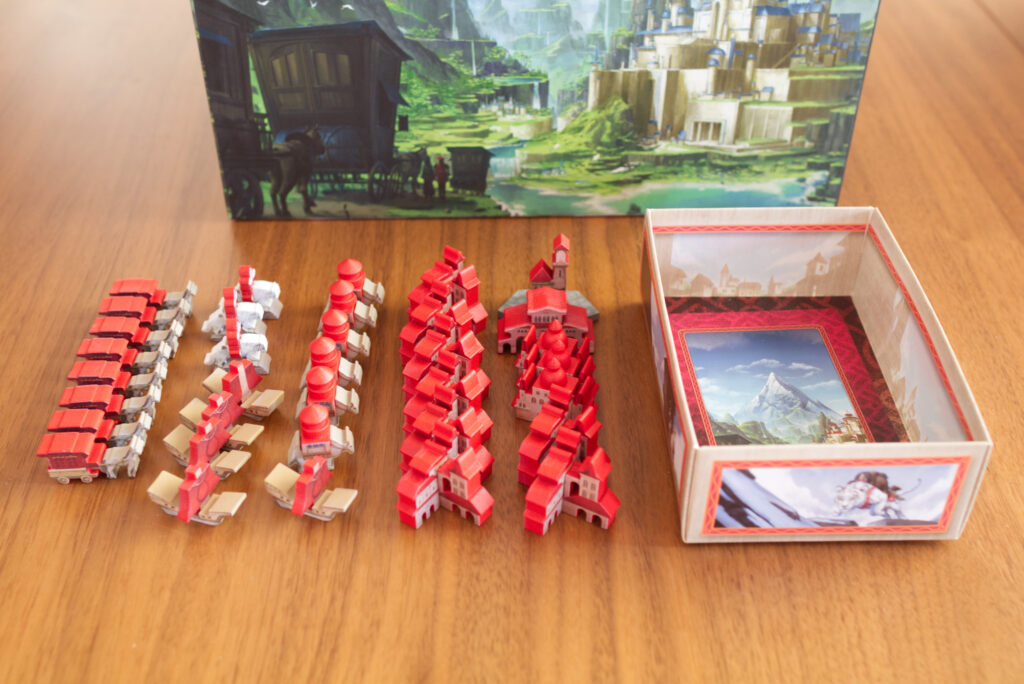
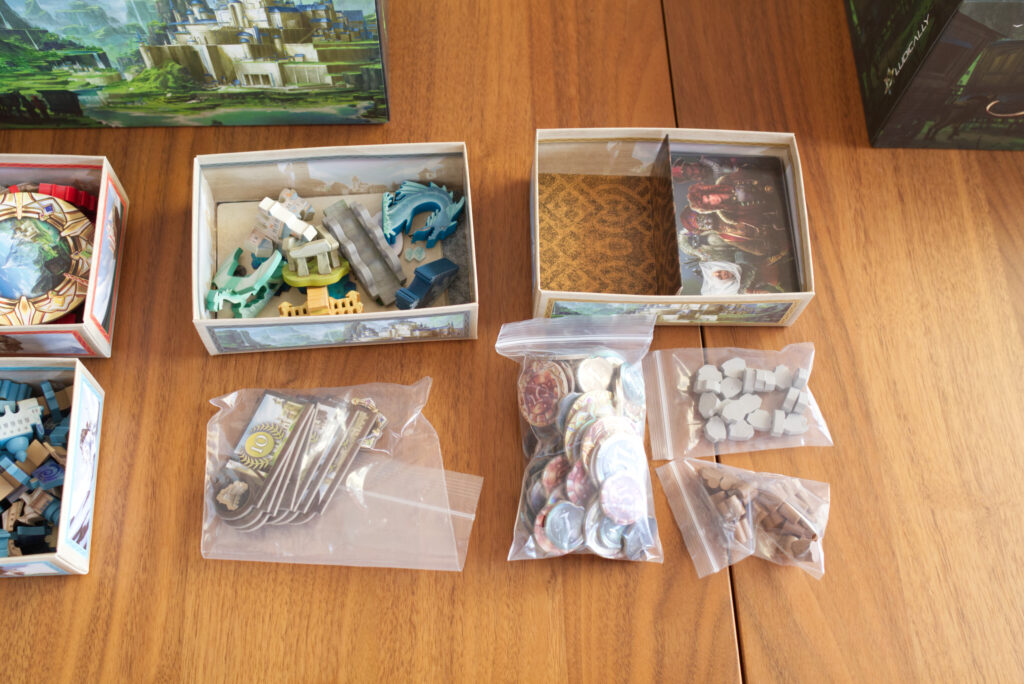
Note that each box has a different coloured line on the inside. Into each box, place the coloured “postcard” of the matching colour which will act as a loose bottom. For the brownish box, the bottom can be folded so that it acts as a separator. Place the player cards at the bottom and then dump all then simply pieces in there. Using a ziplock back also doesn’t hurt in case you want to store it vertically.
Note: if you want to sleeve the guild cards, Dragon Shield Perfect Fit worked, everything that has a bigger upper lip like Board Game Sleeves Standard would probably not work.
Terrain Tiles
At this point, you can remove all black foamy packing material from the box. Underneath you will see that there are actually drawings which terrain tiles go where.
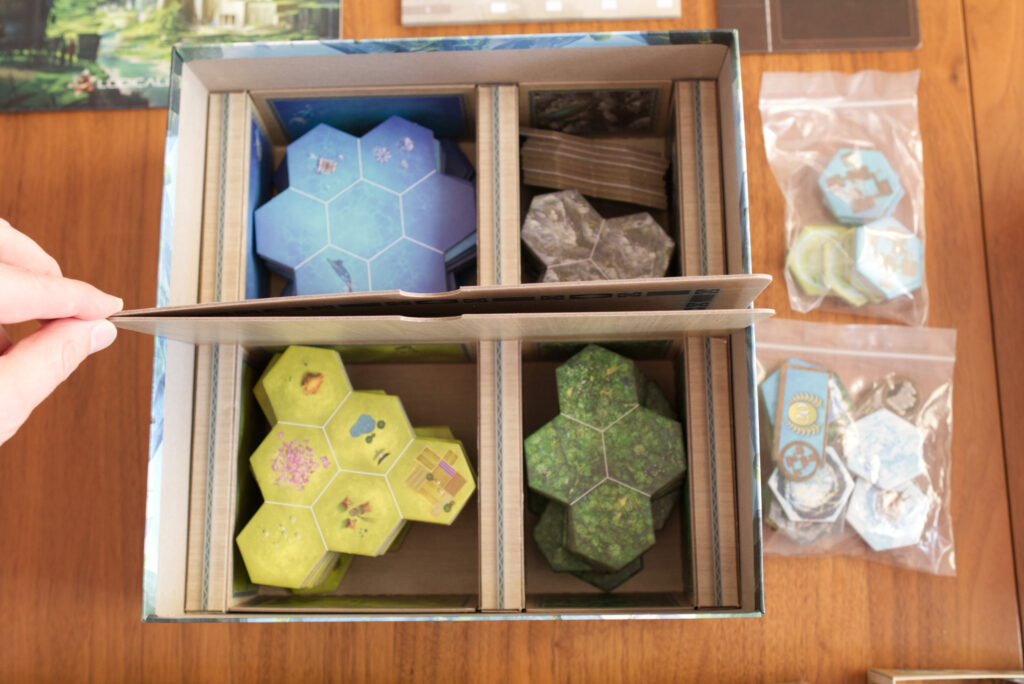
I put the components for advanced modules into some of the ziplock bags the components came in and distributed them so some fit over the water tiles and some over the mountain tiles but the lids still properly close.
Putting Everything Together
Everything in its box looks like this:
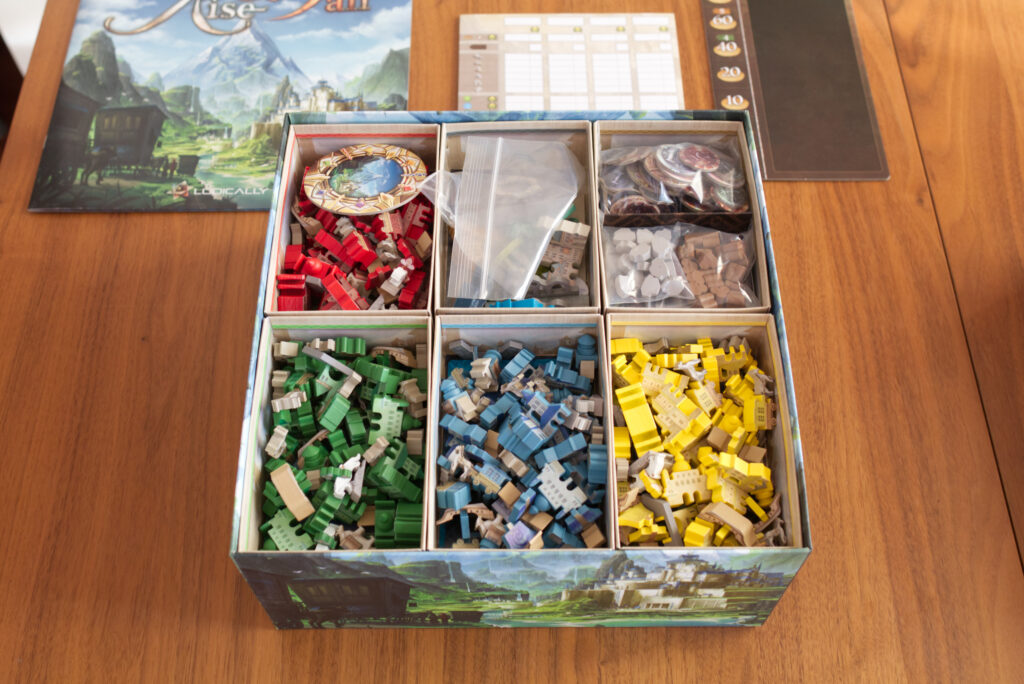
Place the six trays on top of the box, and you get this:
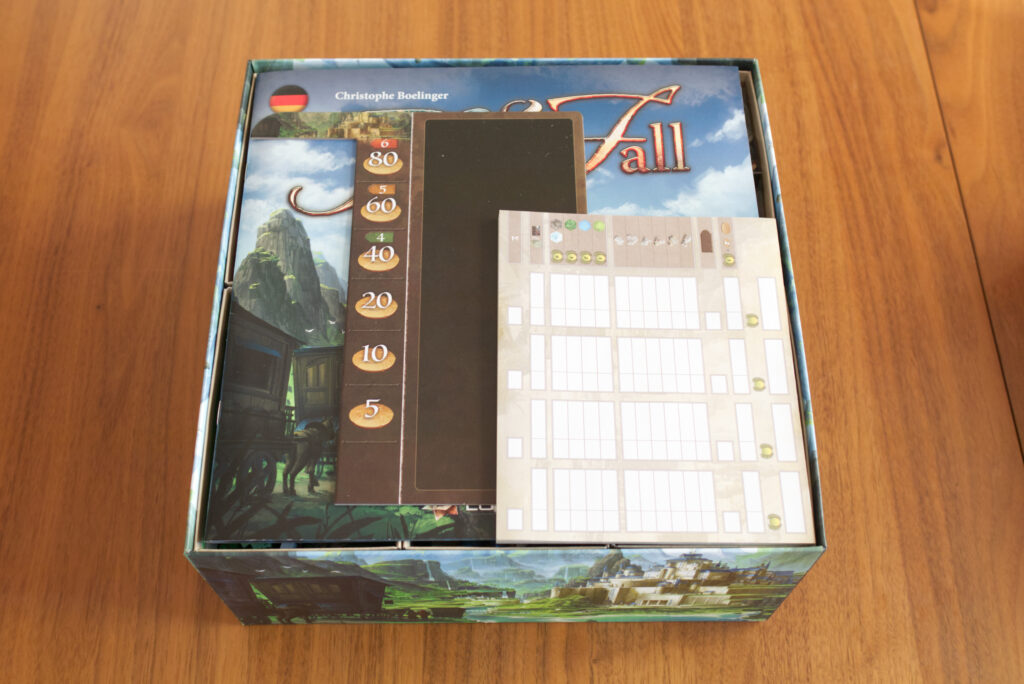
Place the rulebook to cover the trays and then the score block and cardboard board over it. This should give you a nice snuck fit once you close the lid.
Hope that helped! If so, do drop a comment down below. Have fun playing Rise & Fall.
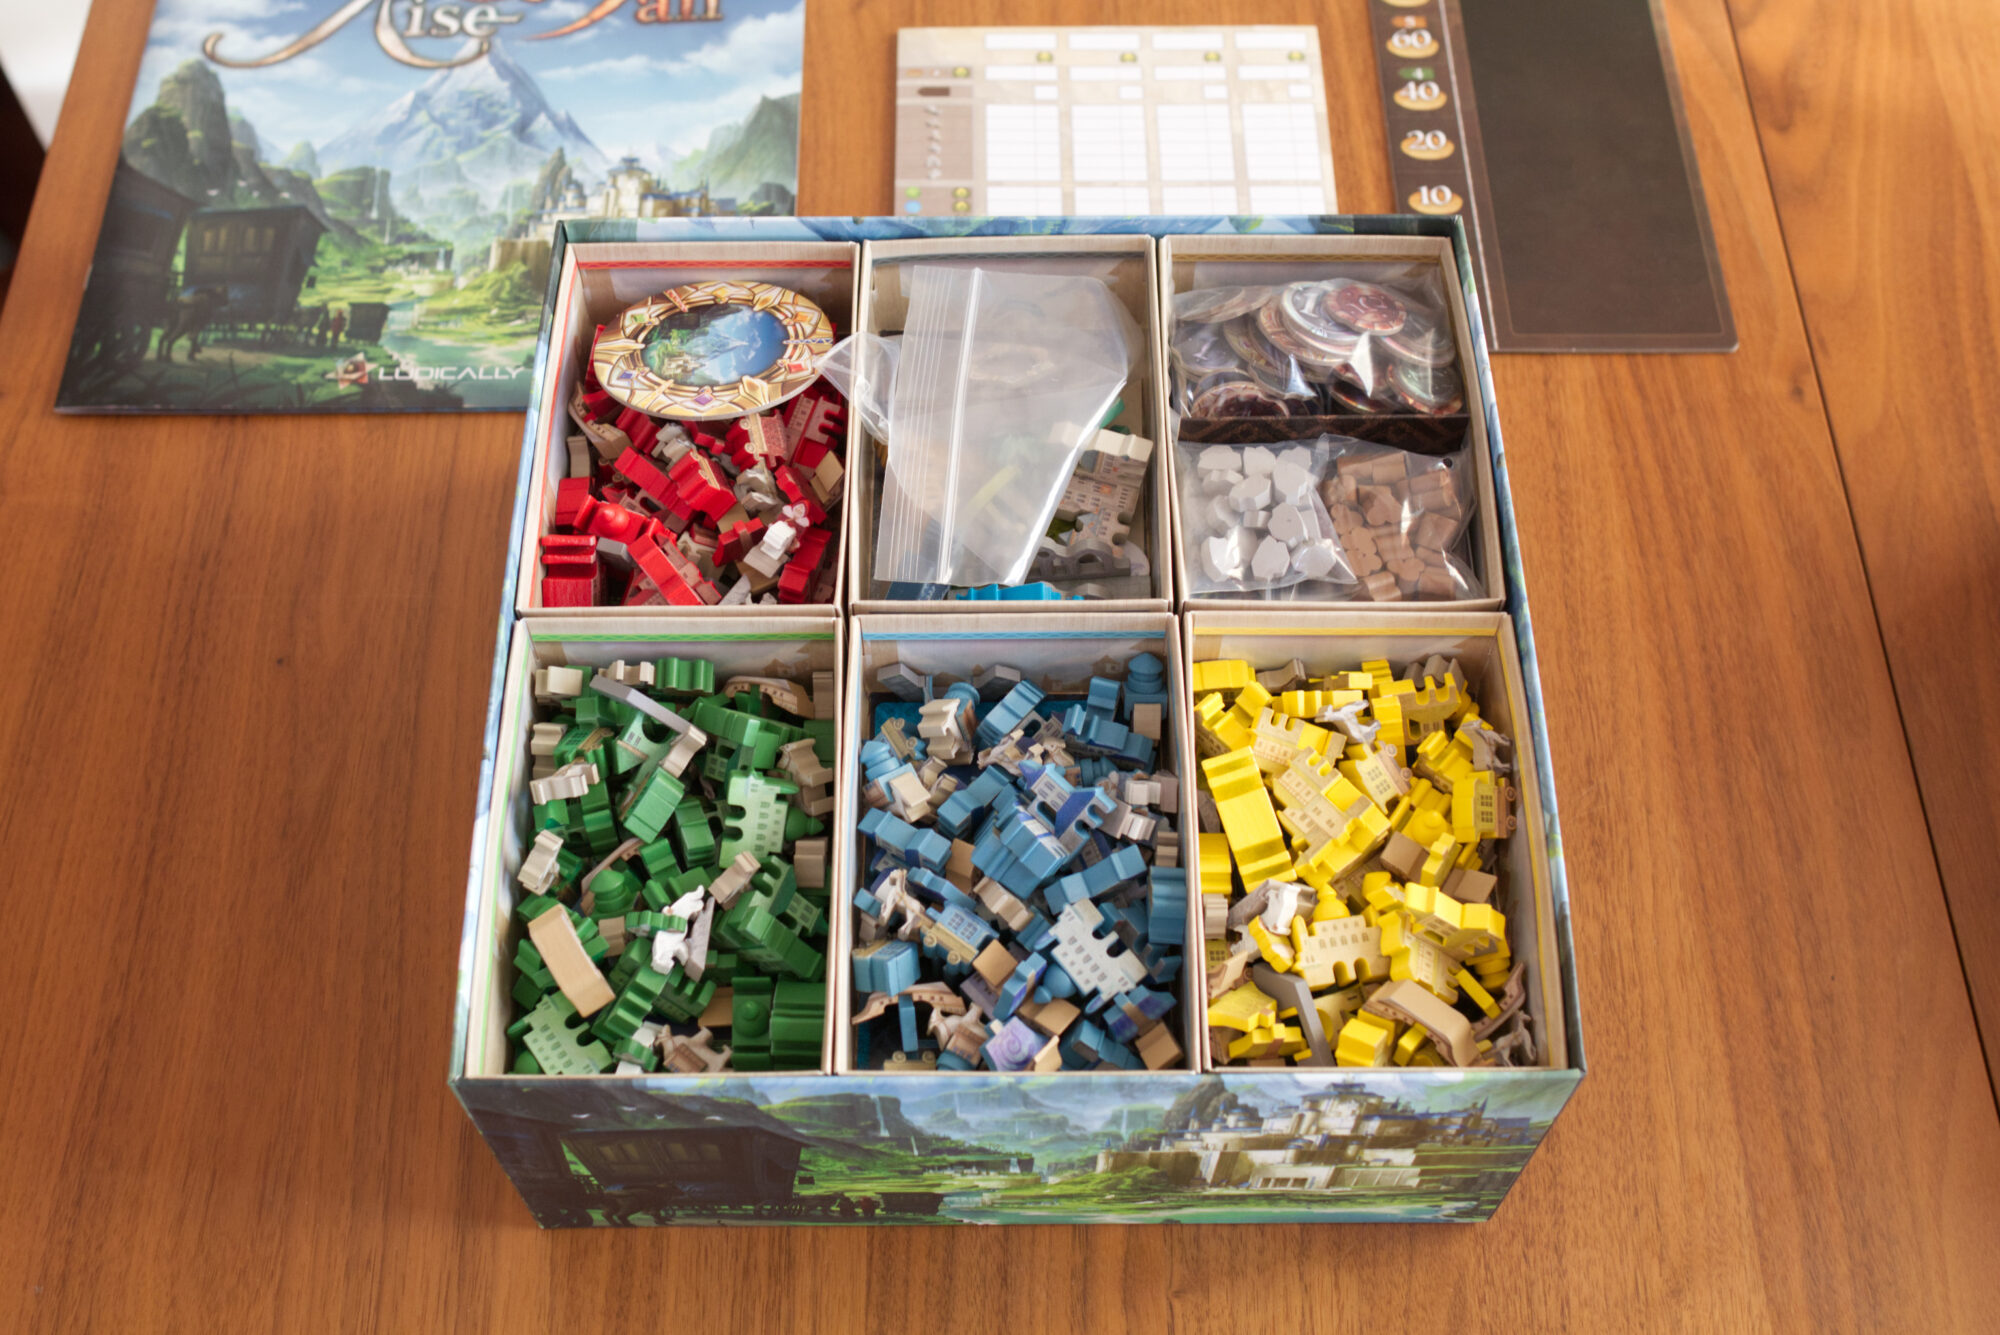
Update Aug 26, 2024: I’ve later optimised the packing by moving the wooden pieces of the optional modules from the grey box to the other half of the brown box such that the cards and wooden pieces are in one tray. That way that tray can be set aside when just playing base game. So:
- Brown tray: one half guild cards (with wooden and stone resources still on top to keep the cards down), other half wooden pieces of modules
- Grey tray: coins, trophy card board tiles, start player marker
Update Sep 11, 2023: If you got a copy of the solo/co-op expansion, best way to fit it in seems to be to split the automa cards by color and add them to the respective boxes (e.g. red automa cards to red player cards under red player pieces). The few terrain and goal cards can then fit under the money in the gray tray, even with sleeves.
Thanks. This was exactly what I was looking for.
Great, glad you found it helpful.
Thanks for your detailed description. You have saved me an amount of time which I would rather spend learning the game. Keep up the good work!
Thanks for the kind feedback! Hope you have lots of fun with the game.
wow, many thanks, i did’nt thought to put the hex in the bottom spaces. Maybe i will be keep in peace with organizing this great game !
I decided not to use the boxes but put some of the stuff in the top part into plastic bags. Not as economical as in the pictures above, but I liked the idea of retaining the sponge in the bottom half.