
Ever wondered what it takes to print a custom playmat? Well, me too! From time to time, I had seen the occasional post on BGG and idly wondered how complicated it would be and what level of quality one could hope for. At the same time, I’m not the biggest fan of playmats. They are always awkward to store, the art on them often looks blurry, and in most cases I just find them completely unnecessary.
As a result, I only owned 3 (and 2 mini-size) playmats in a collection of approx 130 games. One of them is for the original Tranquility. It was a pain to acquire because the (now defunct) publisher would only ship it within the UK, but it totally elevates the playing experience of this simple cooperative card game. Cards stay in their right place and no longer slide around, the grid that is to be filled is always visible, and the art just fits the theme perfectly.

When Tranquility’s successor Tranquility: The Ascent ran into trouble during its Kickstarter campaign, one of the casualties of having to be saved by another publisher (thanks Lucky Duck Games!) was that the foldable paper playmat was never produced. But James and Tristam (the designer and artist respectively) made it happen that the artwork was released as part of a Kickstarter update in case anybody wanted to have a go at creating their own playmat … so that’s what I did!
The Original Artwork
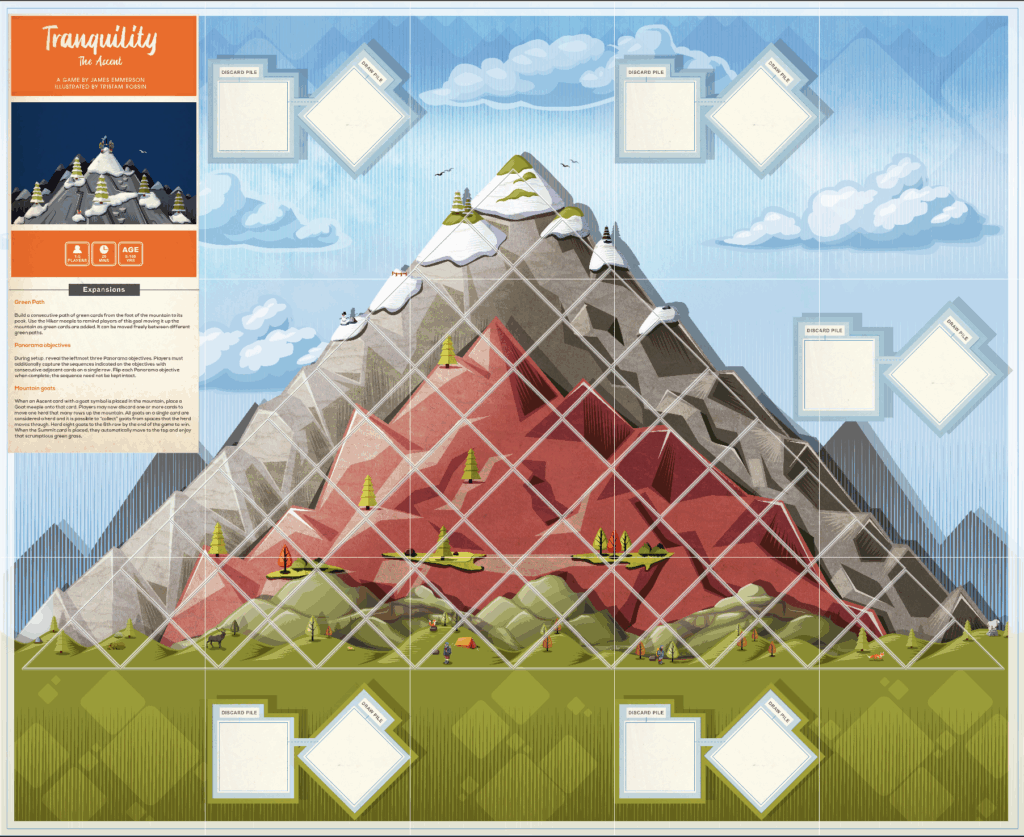
I started out with the original artwork as can be found in Update 38. My main issue was that I wanted a nice neoprene map like the one for the original Tranquillity but the artwork was designed to be printed on paper. To resemble one of those old paper folding maps, it had a cover page, folding lines, it even contained some artistic stains in the areas of the discard/draw piles. In general, it just didn’t feel like the playmat I wanted.
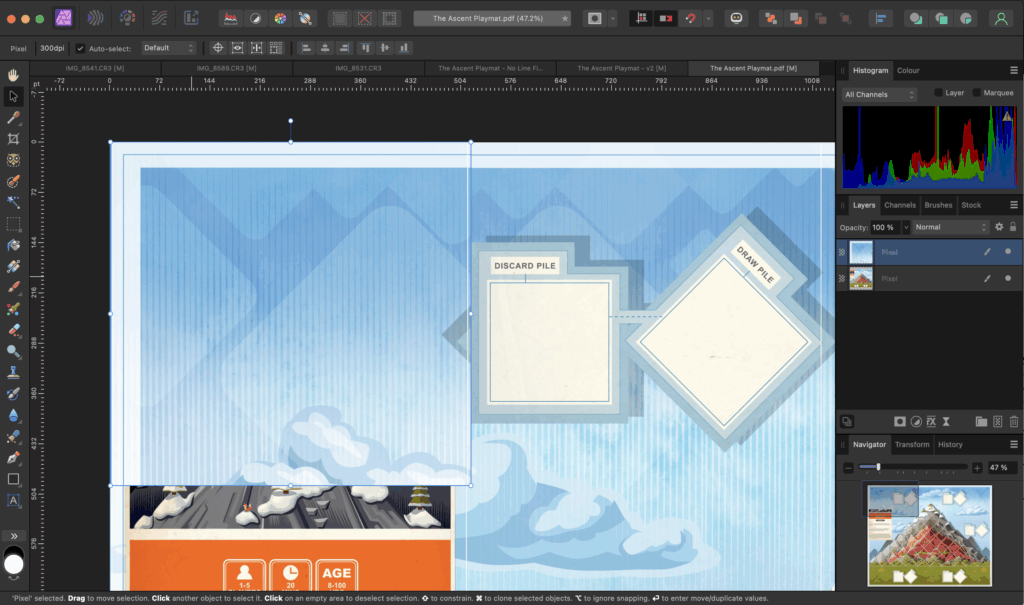
So I opened up the PDF in Affinity Photo (similar to Adobe’s Photoshop), rasterising the PDF to 300 DPI, and started removing the white folding lines. This was rather easy if a bit time consuming. I just used the clone tool and—bit by bit—painted over the lines with similar parts from nearby areas. Of course there are small stitch patterns and other details one has to be careful to preserve and in some larger areas like the red mountain sections, cloning left obvious artifacts. But there wasn’t anything a little “in-paint” (similar to “content-aware fill” in Photoshop) wouldn’t fix.
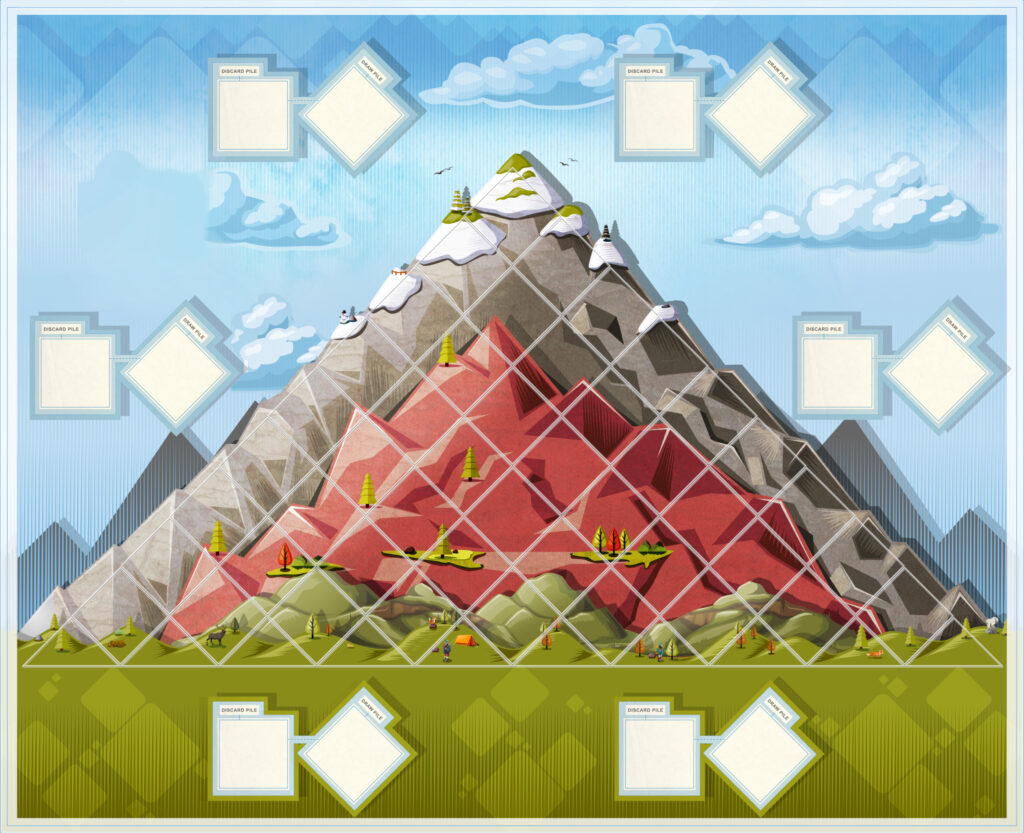
The end result after a few hours of surprisingly relaxing work was this:

At this point, I seriously thought about calling it quits, send it off to the printer, and be done with it. But there were two things nagging me: 1) I wasn’t sure if the white border that gives the artwork its postcard look would work on a playmat and 2) I really found the orange cover page to be too distracting from the gorgeous mountain art. Removing the white border is a simple trimming, something one can do in seconds, but removing that cover? How long would that take? Keep in mind: I only had a rendered pixel version of the art, so it wouldn’t just be a question of deleting the layer the cover was on. Everything was just one single image!
Well … turns out about 10-15 hours! Boy, this was so much work. And before someone asks: yes, I of course tried just box selecting the whole thing and doing content-aware fill, but that created garbage however I tried it. I had to copy and mirror parts from the other side, colour blend and match, re-draw pin stripes, reconstruct parts of a cloud that didn’t exist, and more. The tricky thing is that our eyes are crazy good in seeing patterns or breaks in gradients. It’s like you are playing a giant game of “find the errors” and you can’t help it when you’re sitting in front of a 90x70cm image on your table!
Here is an intermediate version where I had successfully colour matched the copied-over top section and draw/discard piles but in the process lost all the pin stripes. The cloud in the centre-left also doesn’t correctly blend underneath the draw pile square and there were still tons of other small issues …
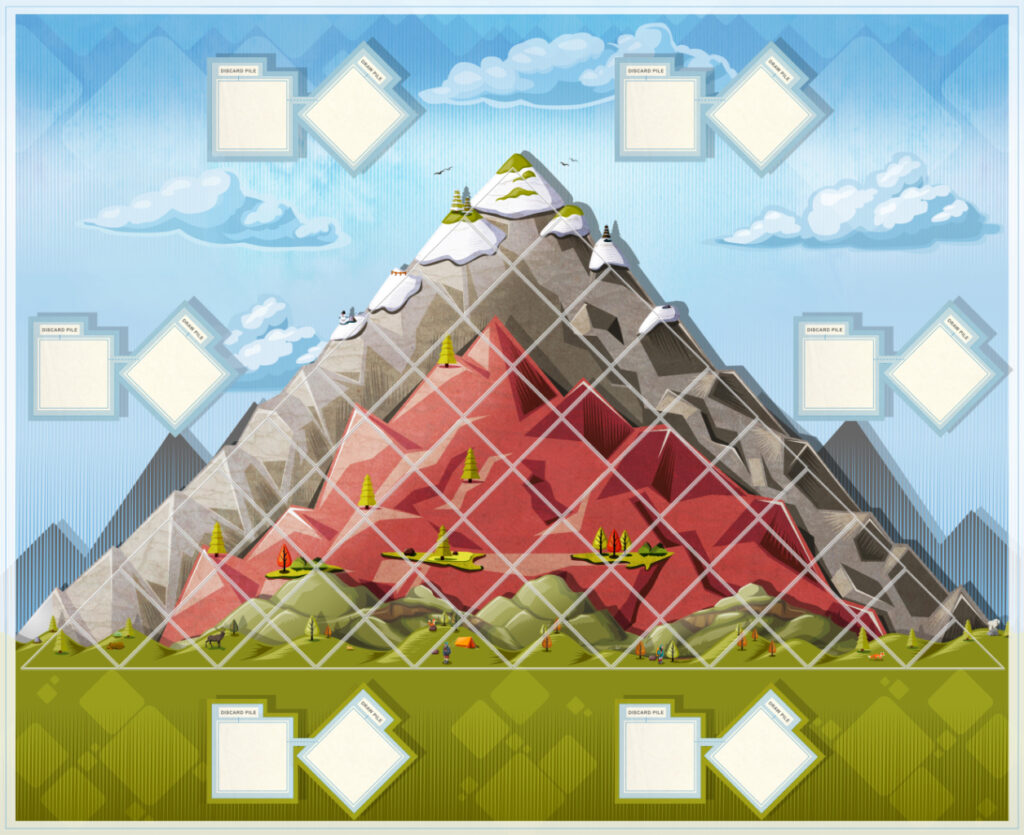
The Final Version
After many more iterations of fixing issues big and small and then double and triple checking everything for errors, I had a final version: behold this 10594x8632px beauty! Having 6 draw/discard piles in a max five player game doesn’t really make sense, but I liked the symmetric look of it. I was tempted to try to rotate the top and side piles to face the players sitting there but knew that would likely cost another 5-10h to properly patch everything back up again. So I left it at this state.
Finding a Printer: 1st Attempt – Deskpad.de
Now came the part that was surprisingly way harder than I had thought: finding a good printer. I’m located in the heart of Europe and in a major city, so I thought surely, there have to be tons of places around here that will do this kind of stuff. Well, there are … and there aren’t. For a number of websites I tested, the upload simply failed when trying to upload anything with a decent resolution. Then there were a lot of sites that only printed specific formats, e.g. they had a Magic-style 1-player playmat or a square 2-player format and that was it. The original PDF was designed for 90×73.22cm which is definitely a non-standard format. Then there were sites where the editor was just horrible and I was doubtful if they would really be able to match the exact measurements or cut something off.
A small interlude: I luckily had the last minute idea to try things out on my table. I got the game box out and arranged the cards like I would do normally. Turns out I needed to scale up everything because I had sleeved my cards. Using the 90cm width of the original PDF, I found it would be hard to pick up one card without moving everything else around it. 100cm seemed to a good compromise between usability and not having too much of a gap between cards so the end result still looks pretty.
In the end, I settled on deskpad.de. The editor was quite good, looked modern, the sample image looked crisp and like exactly what I wanted. I uploaded my file, scaled everything up to a width of 100cm, selected 1cm corner radius (2cm would have looked better but cut off part of the art) and pressed the order button. I was excited to finally have finished this project and eagerly awaited the end result of all my labour …
A week and a half later, my package arrived and I immediately felt something was off. Unpacking the playmat, it turned out that while the main example image on the printer’s side had looked like what I wanted (a black bottom layer, nice crisp image), I hadn’t correctly interpreted what the rest of the page had tried to tell me about the material they used.
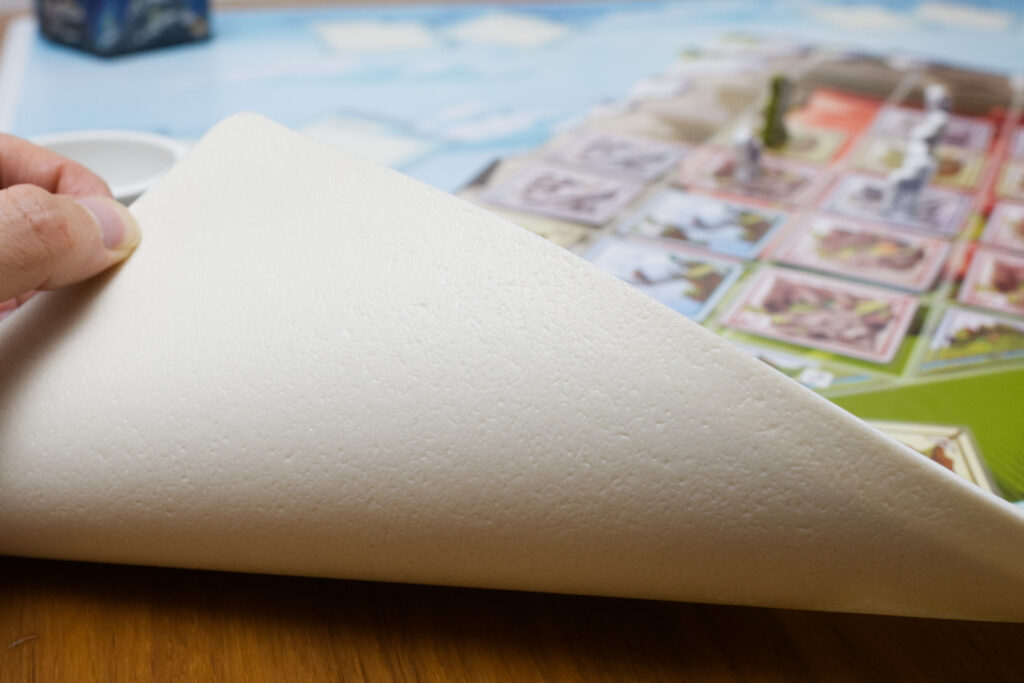
- This wasn’t a mousepad-style playmat like I was used to but reminded me more of one of those cheap garden table covers.
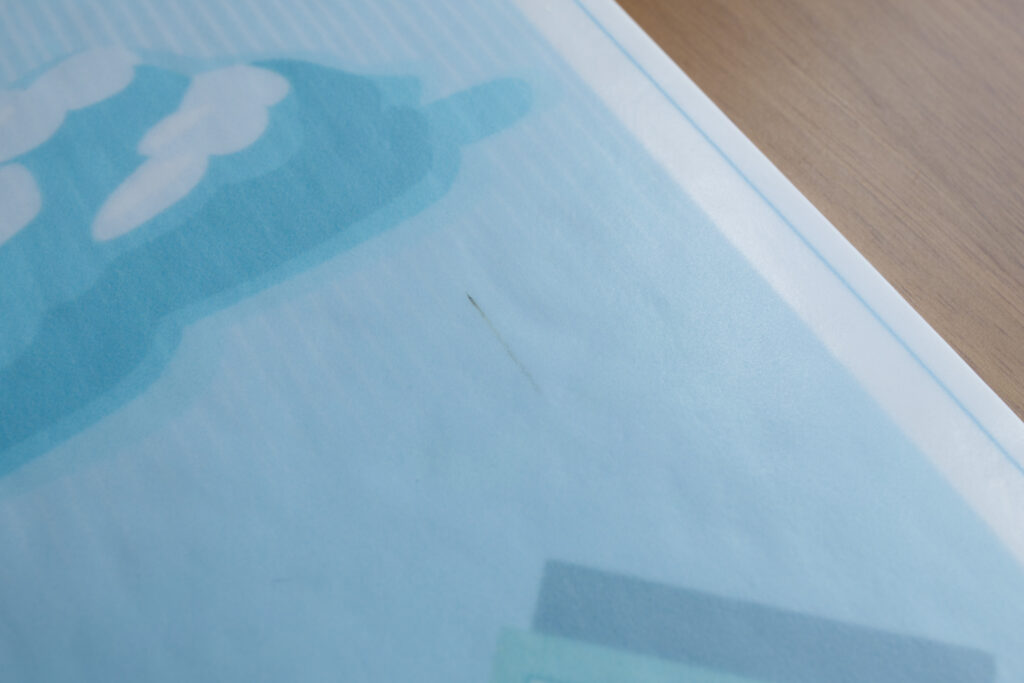
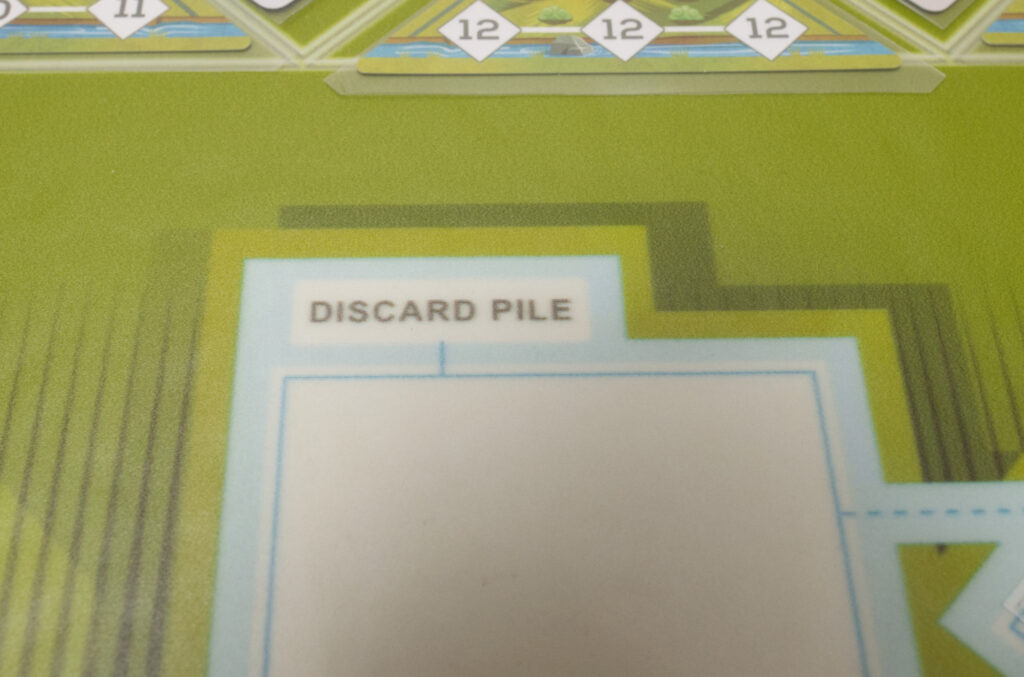
- The print looked blurry and some of the finer detail (like eyes in a small fox) was missing.
- The whole thing had a weird colour tint, in white parts appearing yellow-ish, in others having a different shade of blue than the original image.
- The base layer was white instead of black and looked and felt cheap to me.
- It smelled like heck … I had to put it into my bathroom for multiple days to lose its smell.
- There was a long black streak and another black dot enclosed in the print that I couldn’t remove.
- …
So, it turns out instead of Neoprene, they use Vinyl. It turns out their printing resolution isn’t good enough for what I wanted to do. And it turns out they apparently didn’t do any QA before shipping it out. So I contacted their support, someone got back to me and asked for pictures, but I never heard back from them after that. Disappointing.
I guess the material one is on me, although I found the main example image they used highly misleading (I still would swear that image is from a black-bottom Neoprene mat). I didn’t know enough about material names and had assumed when I see a playmat and a picture that matches my expectation, I’ll get a playmat like I’m used to. To be fair, further down on their page they have images showing the white bottom layer but for me it wasn’t obvious this wasn’t just Neoprene. Well, there goes 60€ I’ll never see again, lesson learned. But the quality issues definitely disqualify them for any further projects of mine.
Finding a Printer: 2nd Attempt – Deep Cut Studio
After doing some more research, I settled on Deep Cut Studio for a second attempt. They are a Lithuanian company I remembered seeing while I was at SPIEL Essen and people had posted some nice examples on YouTube (even showing the Vinyl and cloth alternatives).
The editor turned out to not be as fancy as other sites but worked really well, automatically showing the crucial corner areas to ensure alignment was correct. After seeing my Vinyl attempt in person, I decided to trim off the white border for this 2nd attempt and adjusted the width to 95cm. I think it just looks better if the playmat is more colourful throughout.
Thanks to being part of the EU, I don’t need to pay customs on it and although shipping is a little bit more expansive than using a company more local to me, Deep Cut Studio’s good prices make up for it. Including shipping, in ended up paying ~63€ (of which 15€ are shipping) for a 95x77cm Neoprene playmat, no stitching. They also offer two-sided neoprene mats which seems like an interesting option to save on storage space.
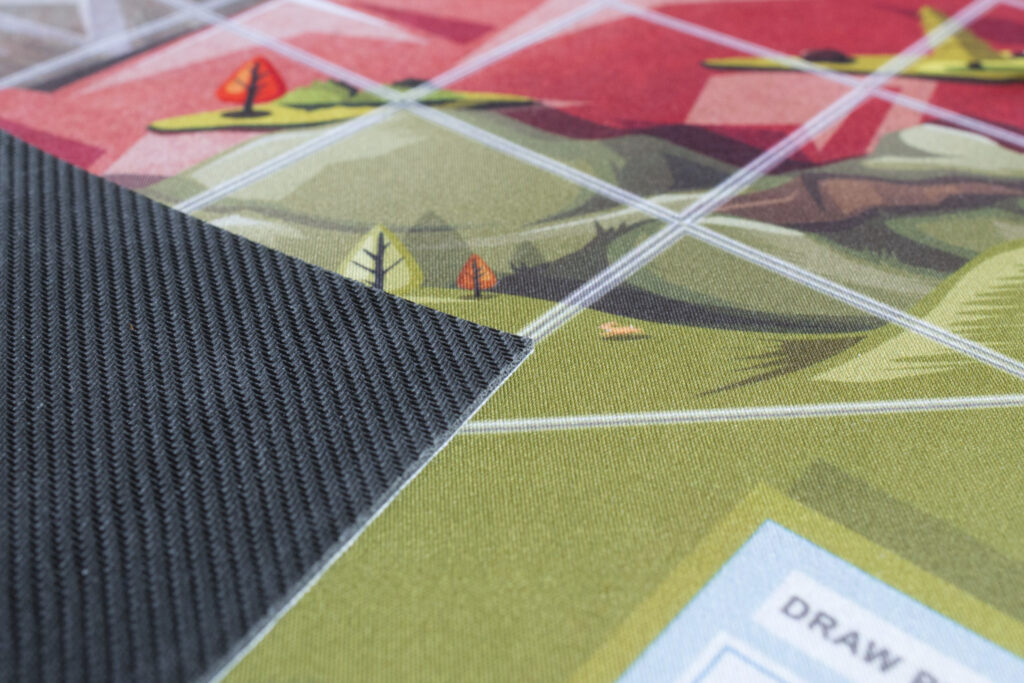
Once again I waited for about two weeks until the package arrived. The neoprene is thinner than I had expected, but that works great. There is a noticeable cloth-like structure on the top surface, but the print looks much sharper than the Vinyl print from deskpad.de. The colour reproduction is much more true to the original image plus the whole thing came in a closable plastic baggy for easier storage where the other one just had a thin wrap around it. And of course no printing errors. Overall, a much, much better quality product!
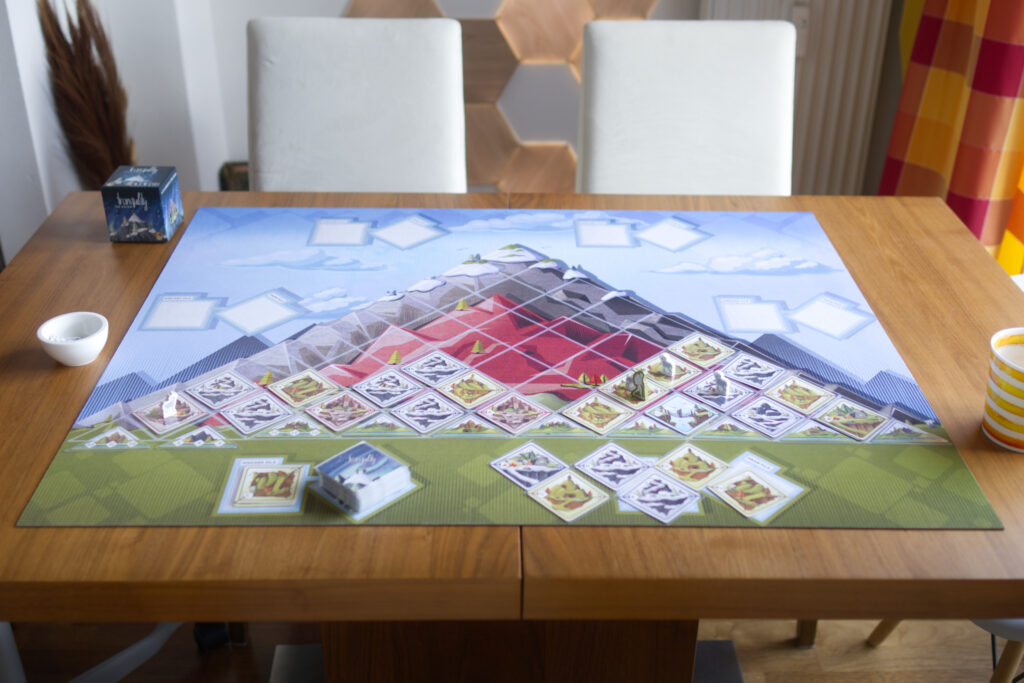
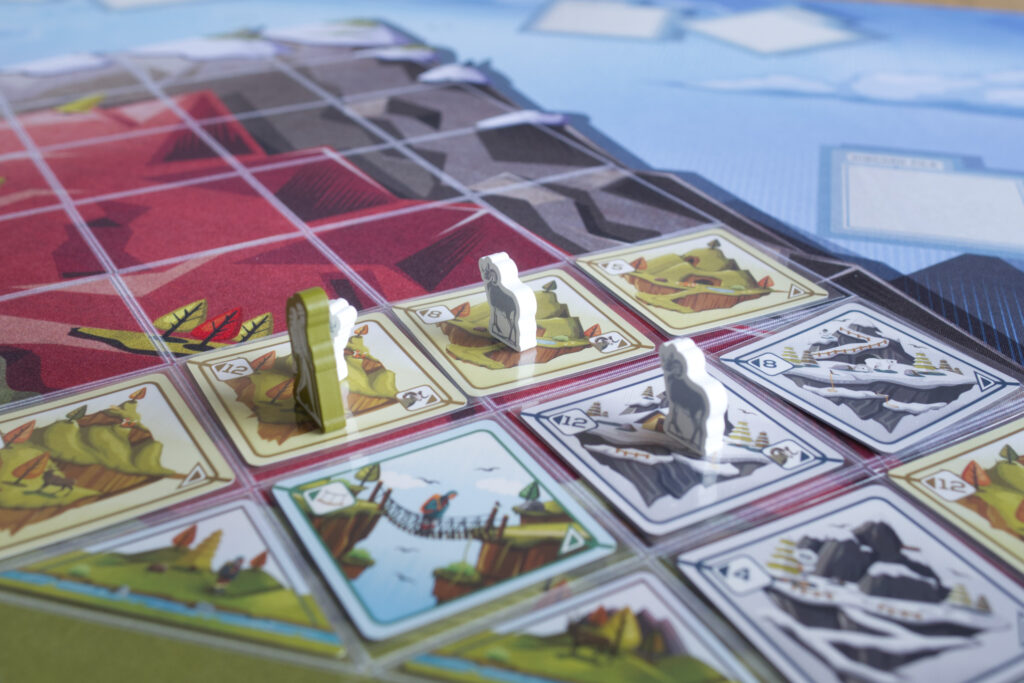
Using My New Playmat
And here it is, my first custom playmat. I really enjoy playing Tranquility: The Ascent with it. It just looks great and feels great. Having worked for so long on this one piece of art—mostly zoomed in up to the level where I could see individual pixels—I have a whole new appreciation for Tristam’s beautiful art (you can find more of it at www.brightlight.games).
Although the whole process was quite painful (and expansive), I learned a lot. Choosing the right printer and having good art as a starting point is definitely key. But there are many things that can go wrong and the cost of error is quite high. Having done it now once, I don’t think I’ll do it again any time soon. For most games I play, having the normal main board is just fine. As a friend of mine said, the sweet spot for playmats seems to be if you have cards you need to pick up a lot or they need to stay precisely in place even when sleeved.
Note: If you are interested in printing THIS particular playmat, I’m afraid you can’t. I don’t own the rights to the original graphics so I intentionally didn’t upload any high resolution version of the final map. I’ll message James once this post goes live and perhaps they’ll be up for sharing my modified file via Kickstarter. We’ll see …
Tips For Your Own Map
And finally, here are some tips if you want to try print your own custom playmats:
- Printing custom playmats isn’t cheap: Depending on size, it can easily be 50-60€, not counting the time you’ll have to put into creating them. So I can only recommend doing it for games you really love and know you will be playing a lot.
- Lay out the physical components to figure out what size the playmat should be. Will you use sleeves or not? How easy is it to pick up cards if others are right next to them? Will the playmat fit on your table? How easy is it to store or carry?
- Research which printing company to use: Watch YouTube videos and if possible, order a small material sample set. Don’t use printers where you can’t find pictures of real world examples other than from the manufacturer themselves.
- Ask the printer what resolution / density they support: It doesn’t make any sense for you to work on a 300 DPI image if they only can print 100 DPI.
- Make sure what material they use: I would avoid Vinyl and always go for Neoprene. Cloth seems interesting storage-wise, but from the videos I’ve seen the folds never really go away.
- Make sure what the colour of the base material is: I would avoid white as that shines through the printing layer. I think that’s what gave my first attempt that yellowish hue.
- If you want to have stitched edges, be aware what colour the stitching is in. Most companies I have seen only offer black stitches.
- Rounded corners: I was at first worried that the corners of my Neoprene attempt weren’t rounded off. But in reality it’s totally fine if the base material is of good quality.
Hope that helps and saves you a lot of trouble I had to go through!